You May Also Like :
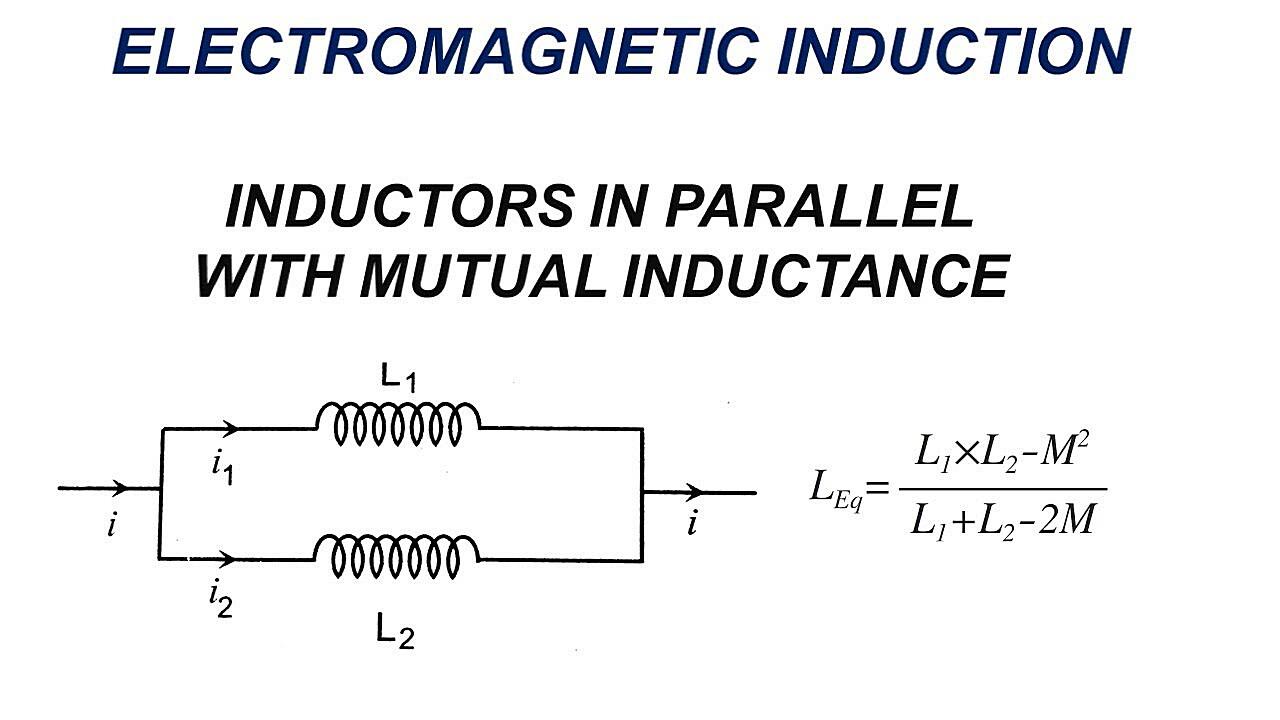
Ideal Tips About Why Are Inductors Connected In Parallel
Wonderful Info About Should I Log All Api Calls
The Bright Spark That Fizzles Out
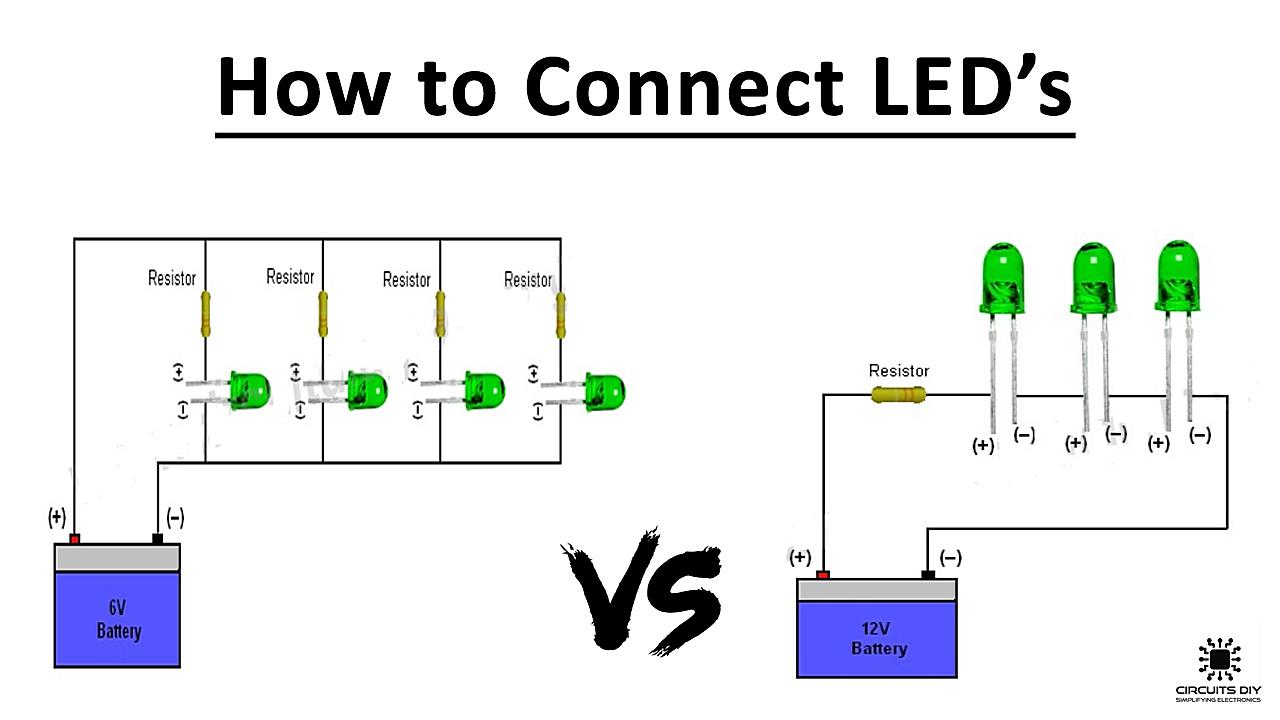
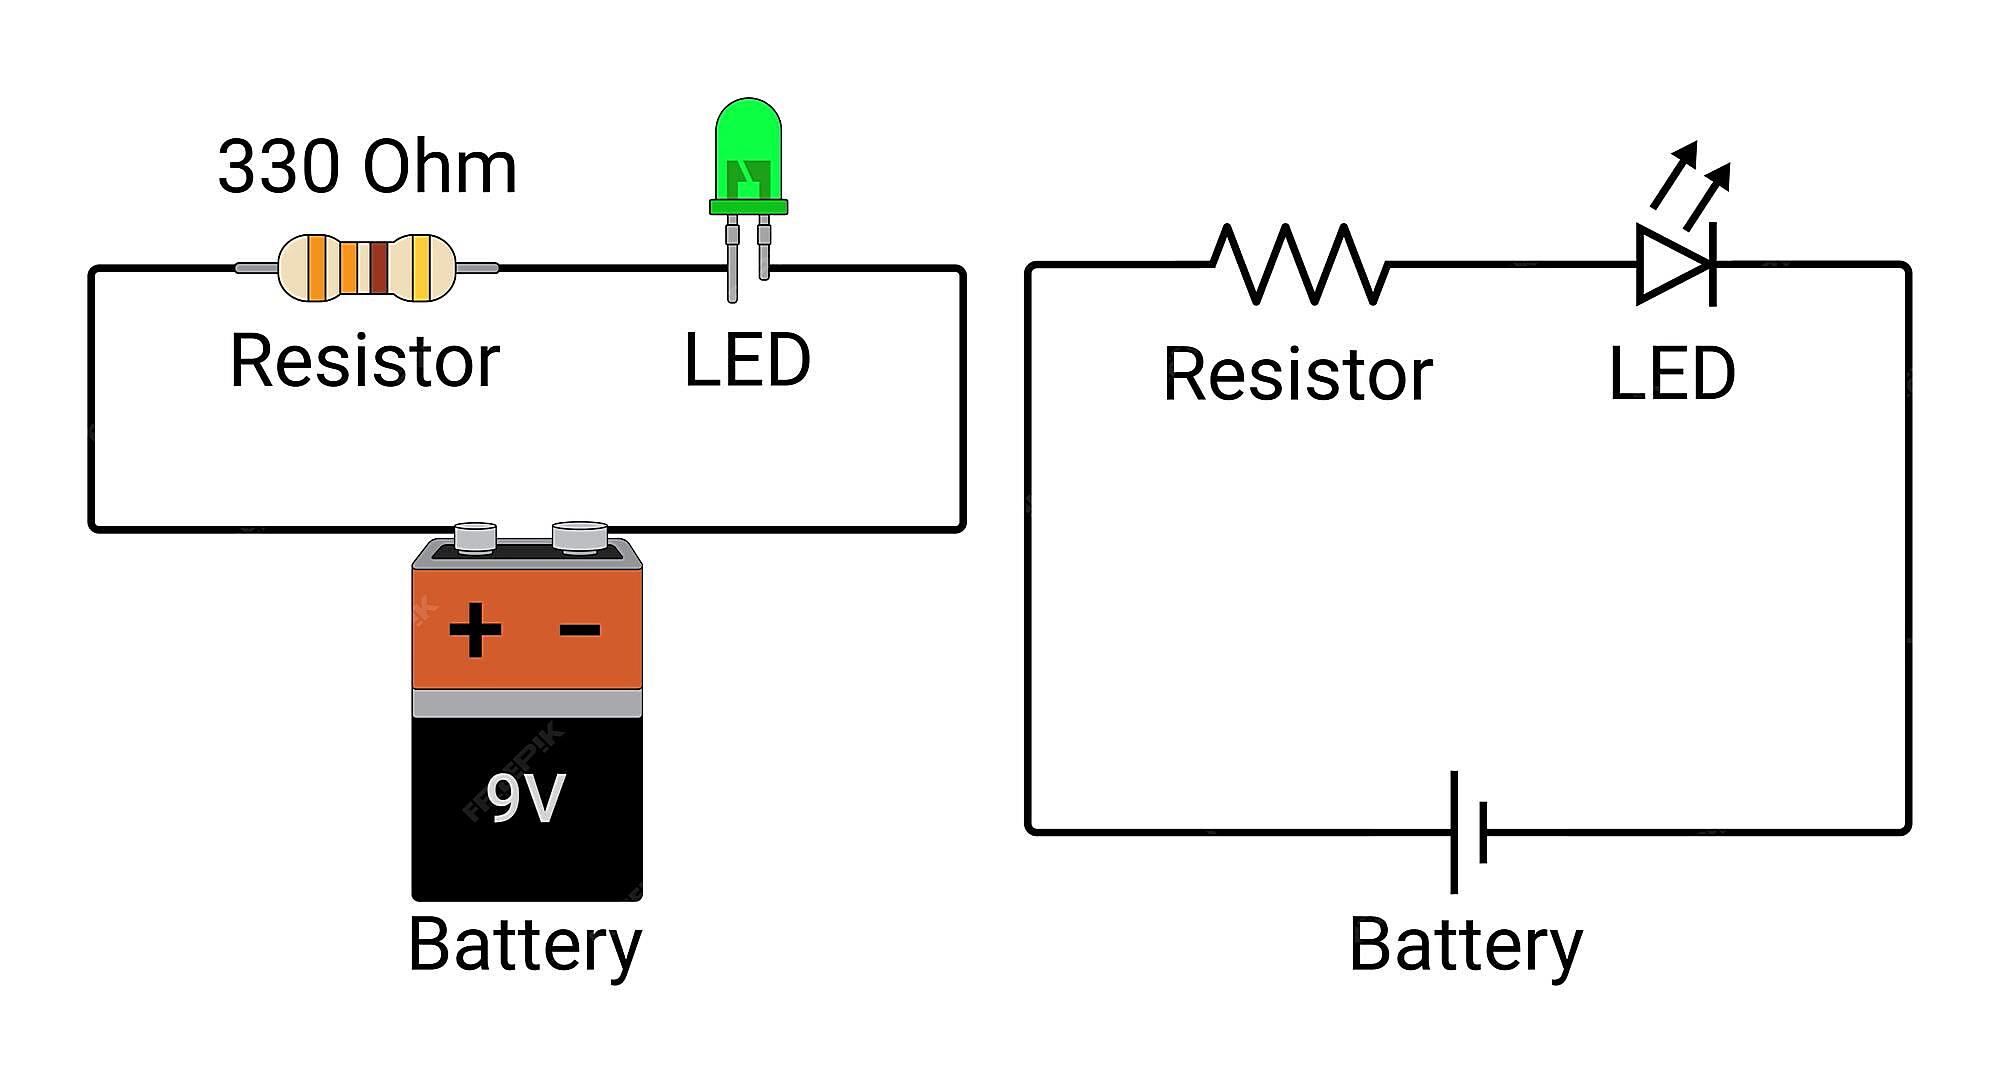
1. Why Your LED Needs a Buddy (the Resistor!)
So, you’ve got an LED, a battery, and a burning desire to make something light up. We’ve all been there! It’s tempting to just connect those two wires and bask in the glow. But hold on a second — connecting an LED directly to a battery without a resistor is generally a bad idea. Think of it like trying to drink a firehose; the pressure’s just too much!
An LED, or Light Emitting Diode, is a sensitive little component. It’s designed to operate within a specific range of current. Exceed that current, and you’re essentially sending it on a one-way trip to the electronics graveyard. It’s kind of like feeding a kitten a whole pizza; cute at first, but disastrous in the long run.
The battery, on the other hand, is like a relentless power source, ready to deliver all the current it can muster. Without a resistor in place, the LED will try to gobble up all that current, far exceeding its safe operating limits. This leads to overheating, a bright flash (often followed by no flash at all), and ultimately, a dead LED. Consider it a tiny, silicon-based sacrifice to the gods of electricity.
Imagine you are trying to water a delicate plant. A battery without a resistor is like using a firehose, where the sheer force of the water will destroy the plant. The resistor in this case is like a watering can. It controls the flow of water (current) to ensure the plant (LED) gets just the right amount.

The Resistor
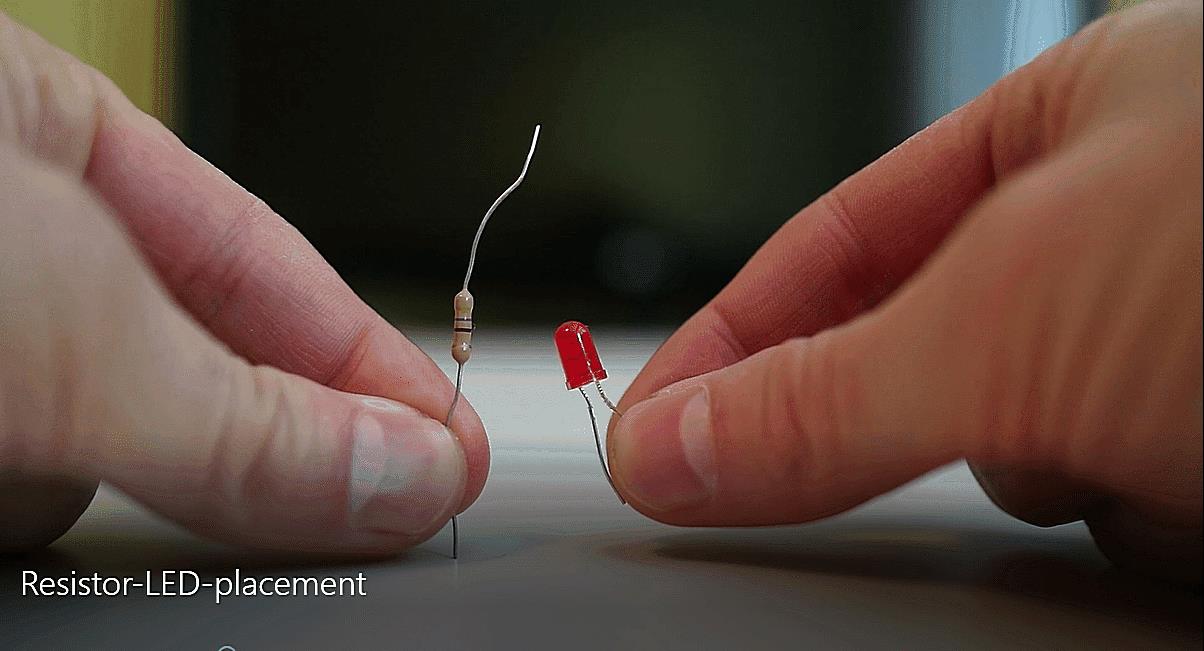
2. Understanding the Resistor’s Role
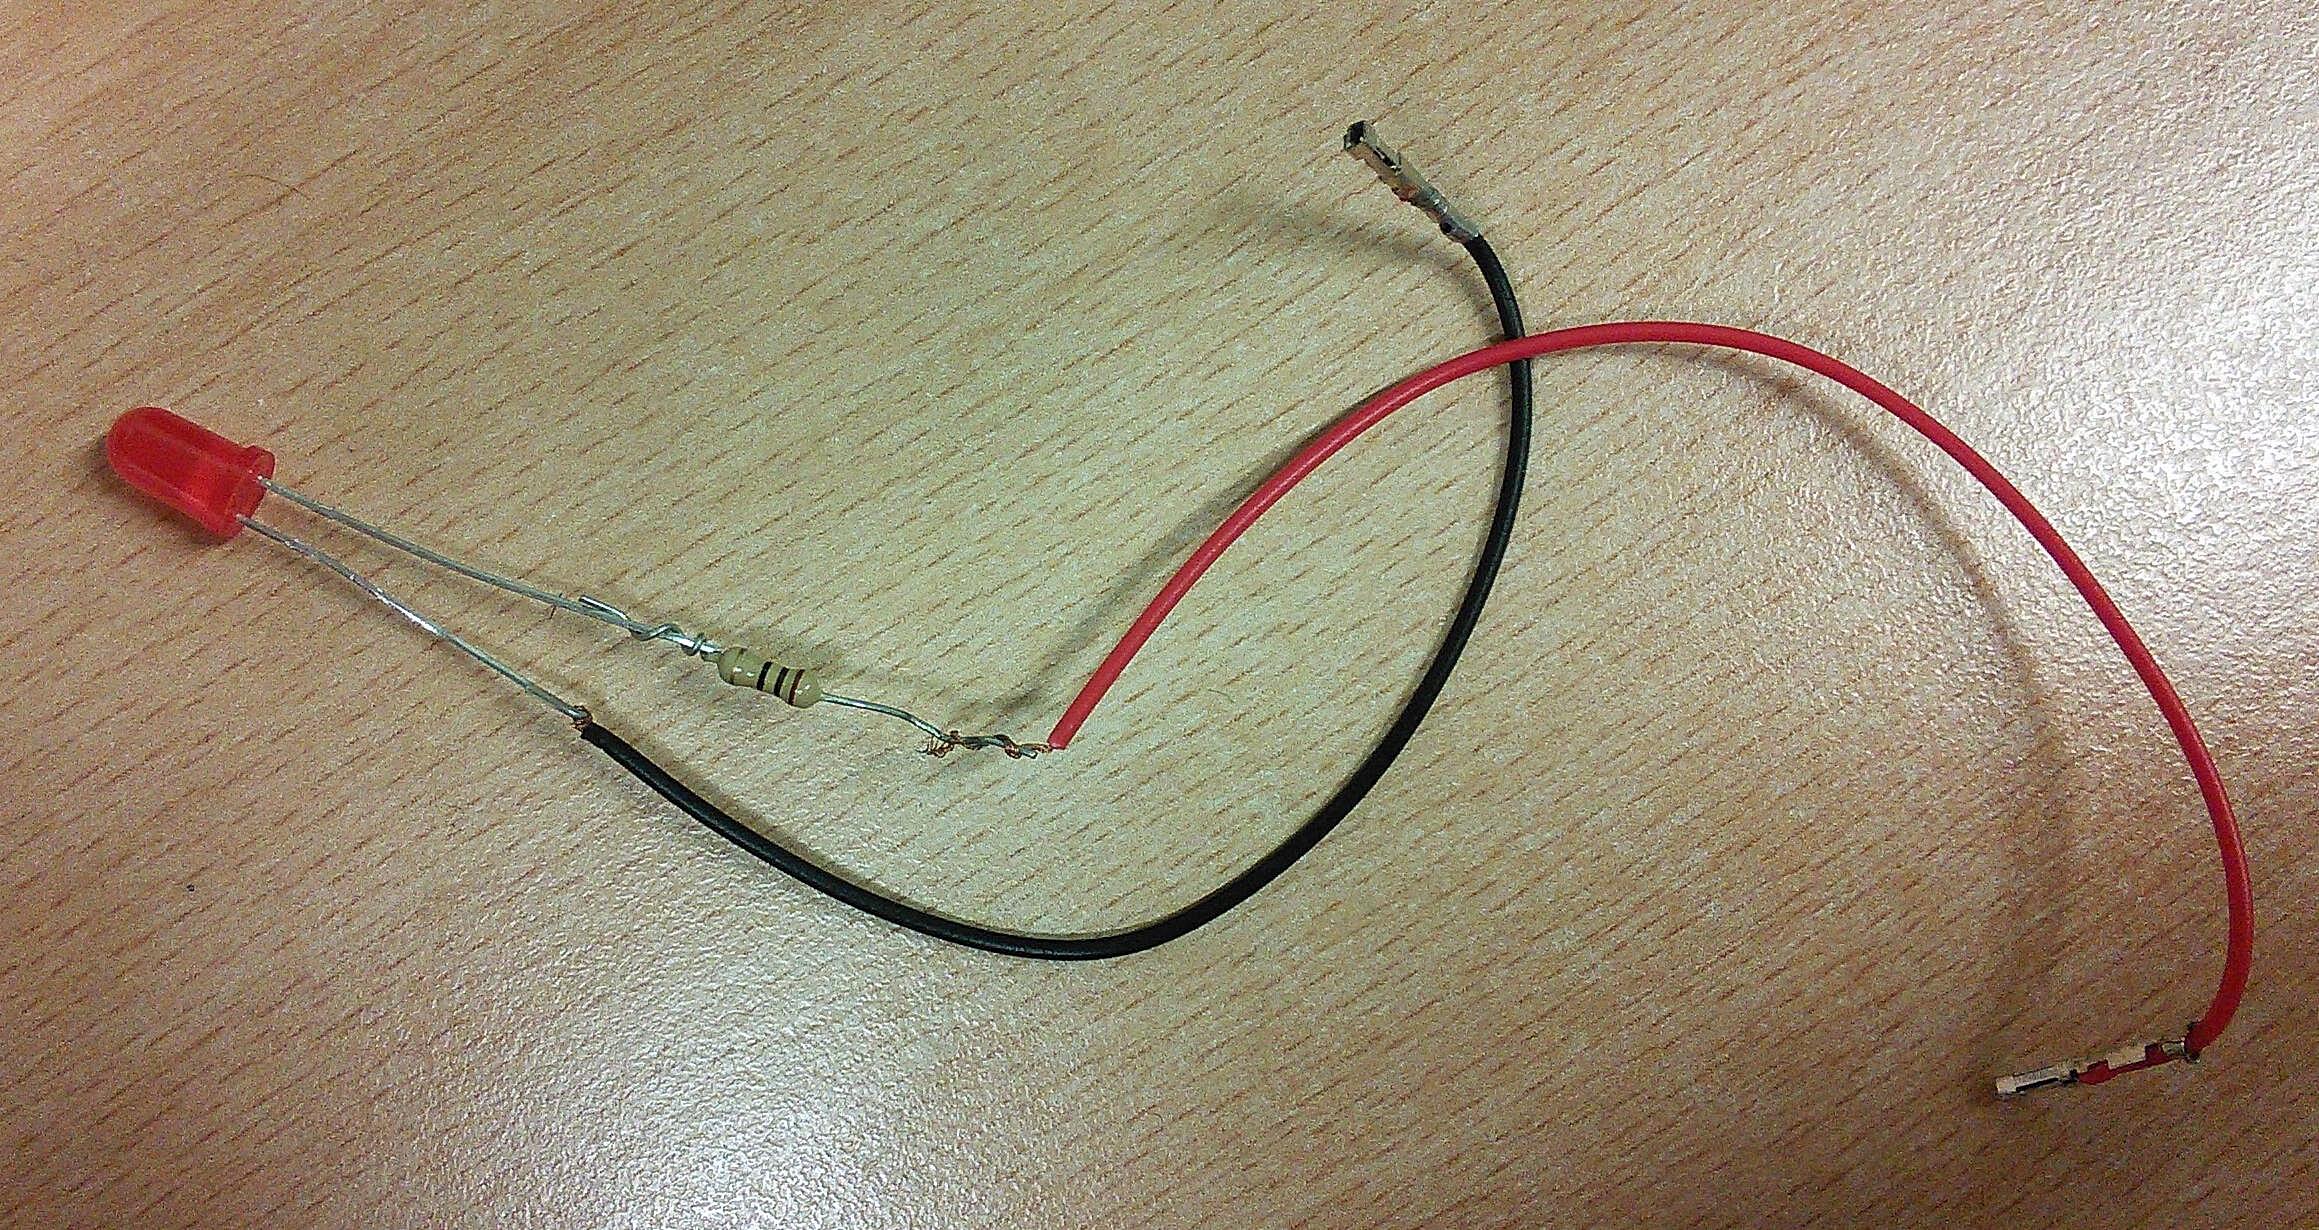
This is where the resistor comes in — our unsung hero of the electronic world! It’s a simple component, but it plays a crucial role in protecting your LED. The resistor acts as a current limiter, restricting the amount of current that flows through the LED. Think of it as a traffic cop, directing the flow and preventing a chaotic pile-up.
A resistor’s job is to create a voltage drop. It essentially absorbs some of the battery’s voltage, leaving the LED with the proper amount it needs to operate safely. Without it, the LED gets the full force of the battery’s voltage, similar to trying to run a marathon at a full sprint; you’ll burn out quickly.
The value of the resistor you need depends on a few things: the voltage of your battery, the forward voltage of your LED (which you can find in its datasheet), and the desired current for the LED. There are plenty of online calculators that can help you determine the correct resistor value. Plugging in the numbers feels a little like doing math homework, but trust me, your LED will thank you for it.
So, the next time you’re tempted to skip the resistor and go straight to the glowing goodness, remember the story of the overzealous LED. A little bit of resistance can go a long way in ensuring your LED lives a long and happy life. The cost of a resistor is minimal compared to the cost of replacing LEDs every other day.
What Actually Happens When You Skip the Resistor
3. The Unpleasant Reality
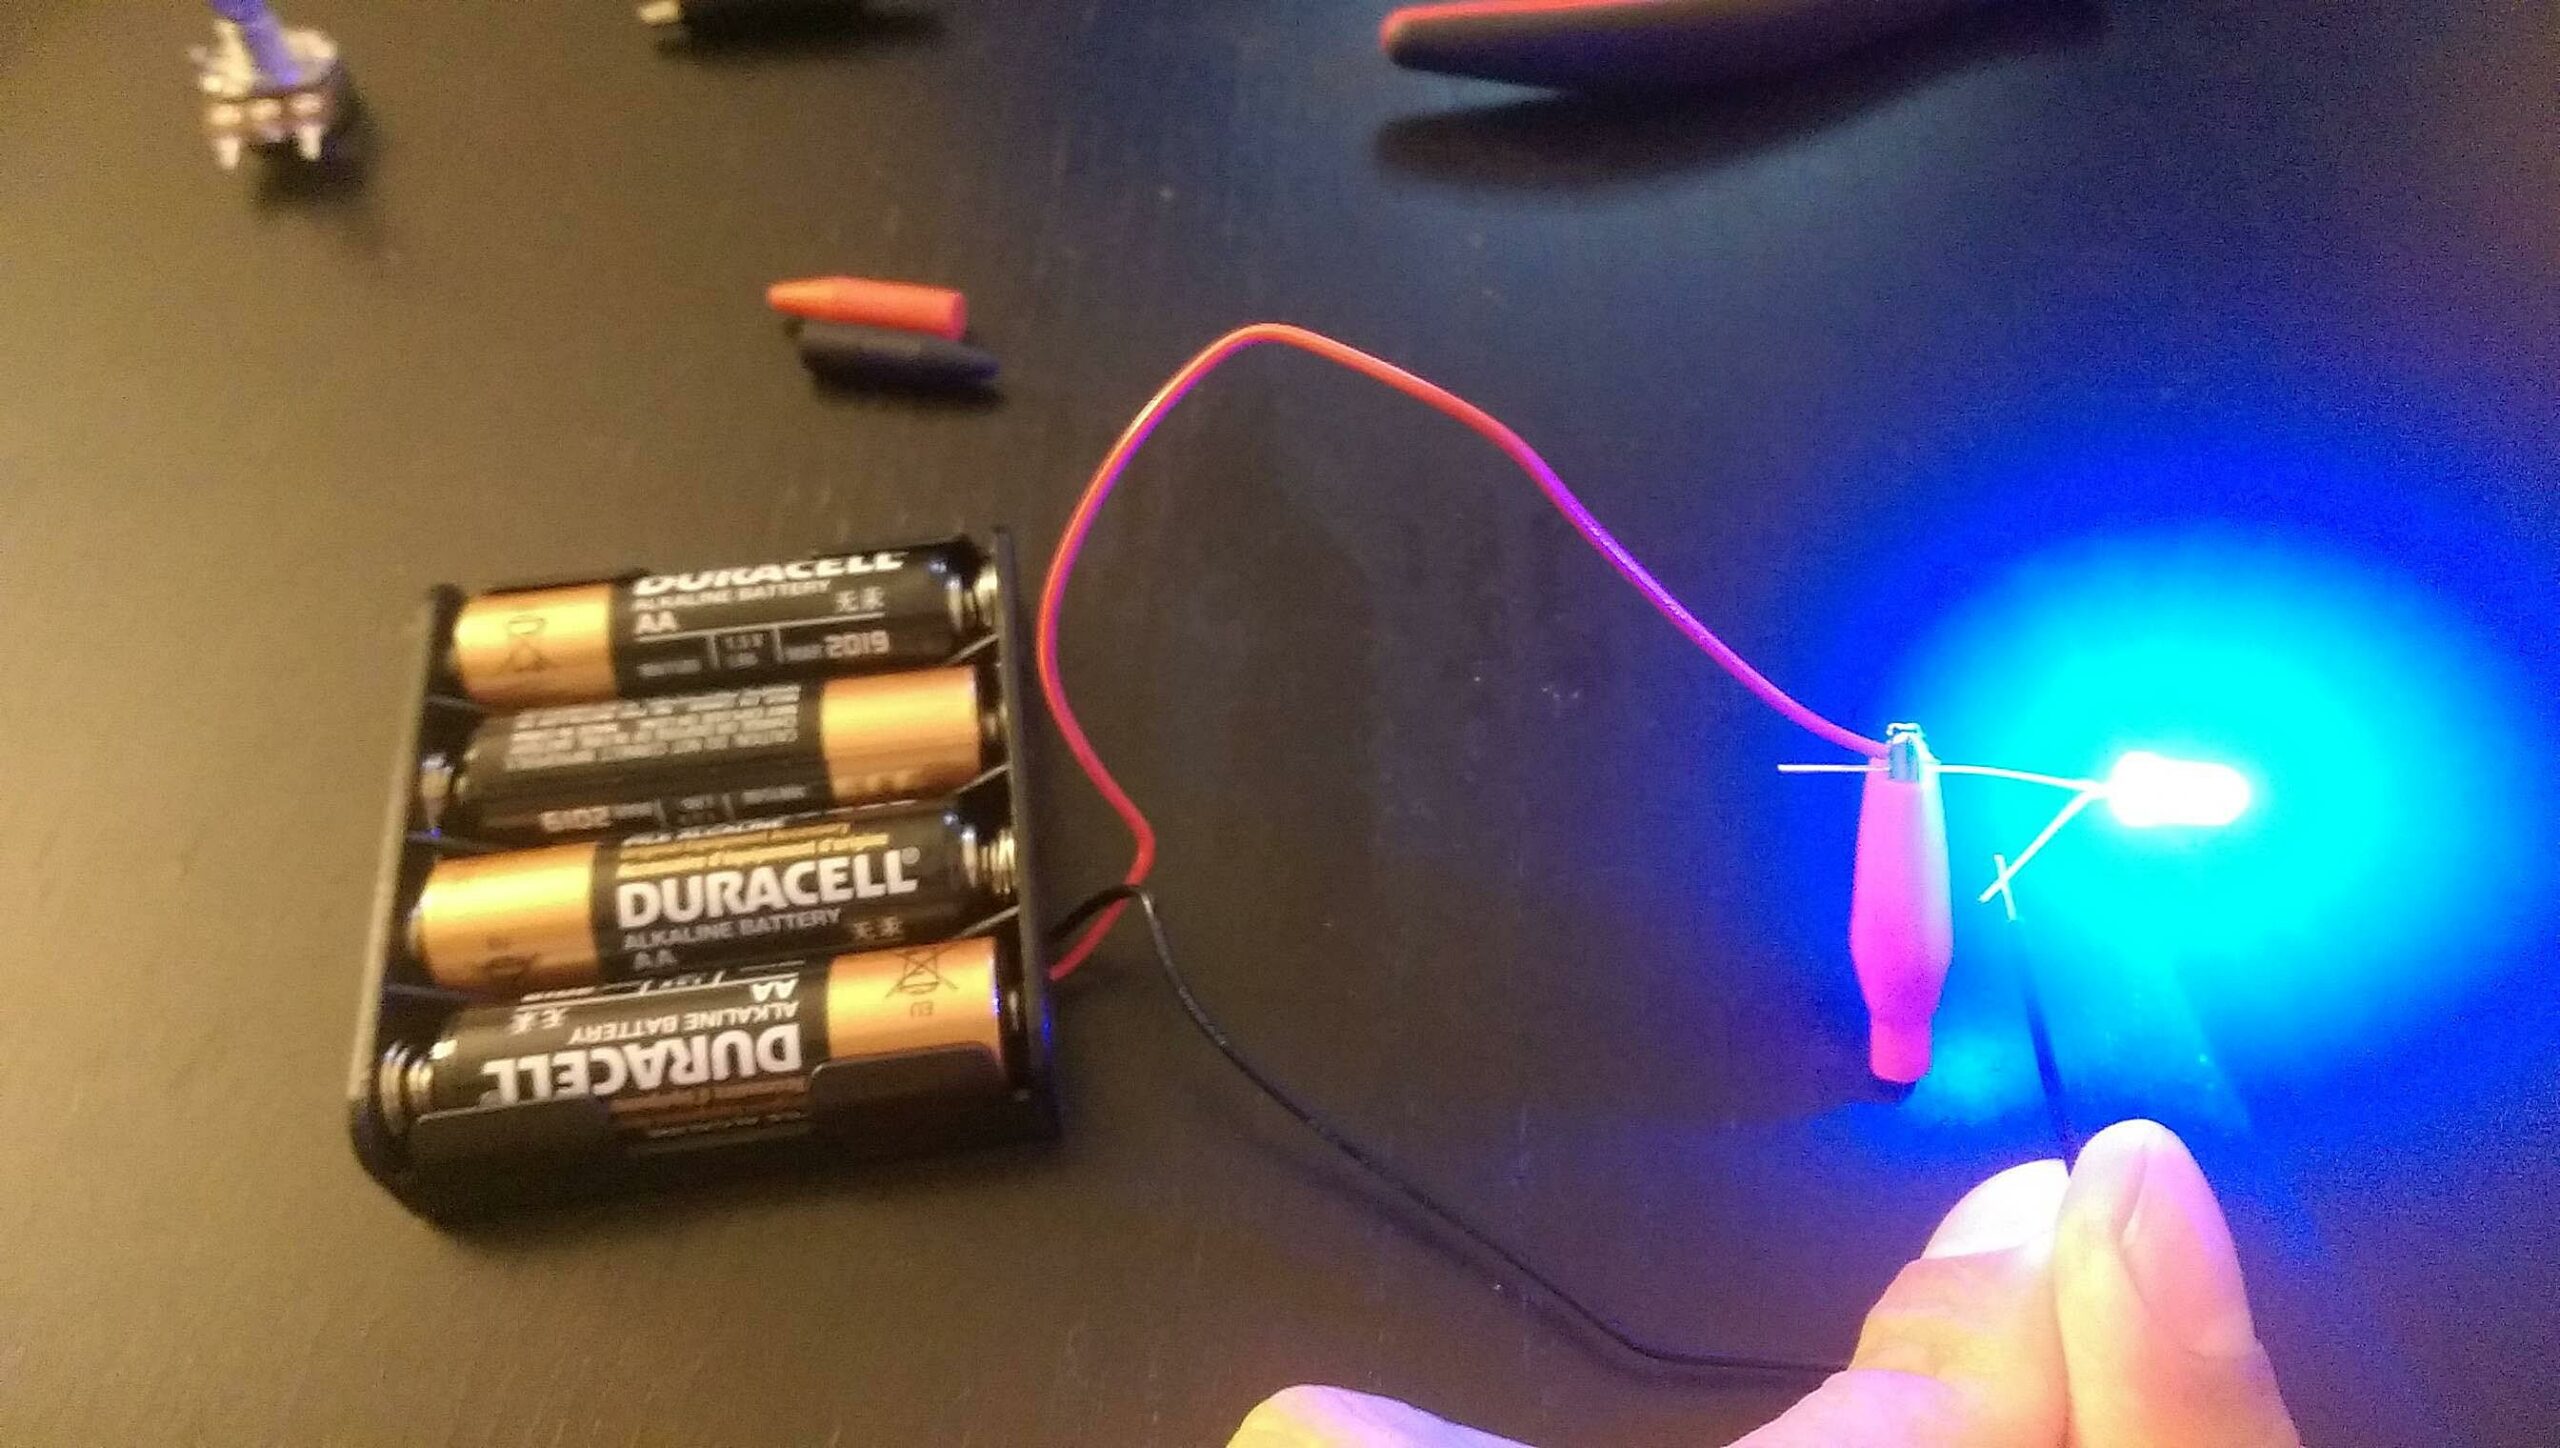
Let’s paint a picture of what actually occurs when you bypass the resistor and directly connect an LED to a battery. Initially, you’ll likely see a burst of light, brighter than the LED is intended to produce. This is because it’s drawing far more current than it’s designed for. It’s like revving a car engine to its absolute limit — impressive for a moment, but unsustainable.
This intense current flow generates excessive heat within the LED. LEDs are designed to dissipate some heat, but they can’t handle the overload that occurs when they’re directly connected to a battery. This overheating damages the internal components of the LED, including the semiconductor material that produces the light. It’s the electronic equivalent of cooking something in a microwave for way too long.
The excessive heat and current quickly degrade the LED’s performance and lifespan. It might flicker, dim, or simply stop working altogether. In some cases, the LED might even burn out completely, leaving you with a tiny, useless piece of plastic and metal. Think of it as a tragic romance; a brief, intense moment of glory followed by a swift and irreversible decline.
It is like an inflated balloon that is continuously being pumped. Eventually, the balloon will explode. LEDs that are not protected by a resistor will burn up because of over current, and that makes the LED useless.
Determining the Correct Resistor Value
4. A Little Math (But It’s Worth It!)
Alright, let’s delve briefly into determining the resistor value. Don’t worry, it’s not rocket science! The key is Ohm’s Law: Voltage (V) = Current (I) x Resistance (R). We need to rearrange that to solve for Resistance (R): R = V / I.
First, you need to know the voltage of your battery (Vbattery) and the forward voltage (Vf) and forward current (If) of your LED. The forward voltage is the voltage drop across the LED when it’s operating correctly, and the forward current is the amount of current it needs to shine brightly. These values are typically found in the LED’s datasheet. This is like having the perfect recipe for a delicious cake; you need to know all the ingredients and their quantities.
Next, calculate the voltage drop across the resistor (Vr): Vr = Vbattery – Vf. This is the amount of voltage the resistor needs to absorb to ensure the LED receives the correct voltage. It’s like calculating how much sugar you need to add to your coffee to make it perfectly sweet.
Finally, calculate the resistance value: R = Vr / If. This will give you the resistance in ohms. Choose a resistor value that is closest to the calculated value, but slightly higher is always safer than slightly lower. It’s like picking the right tool for the job; using a slightly larger wrench is better than stripping the bolt with a wrench that’s too small. There are online calculators that will figure this out for you if you don’t like math equations.
Alternatives to Resistors for Current Limiting
5. Other Ways to Protect Your LED
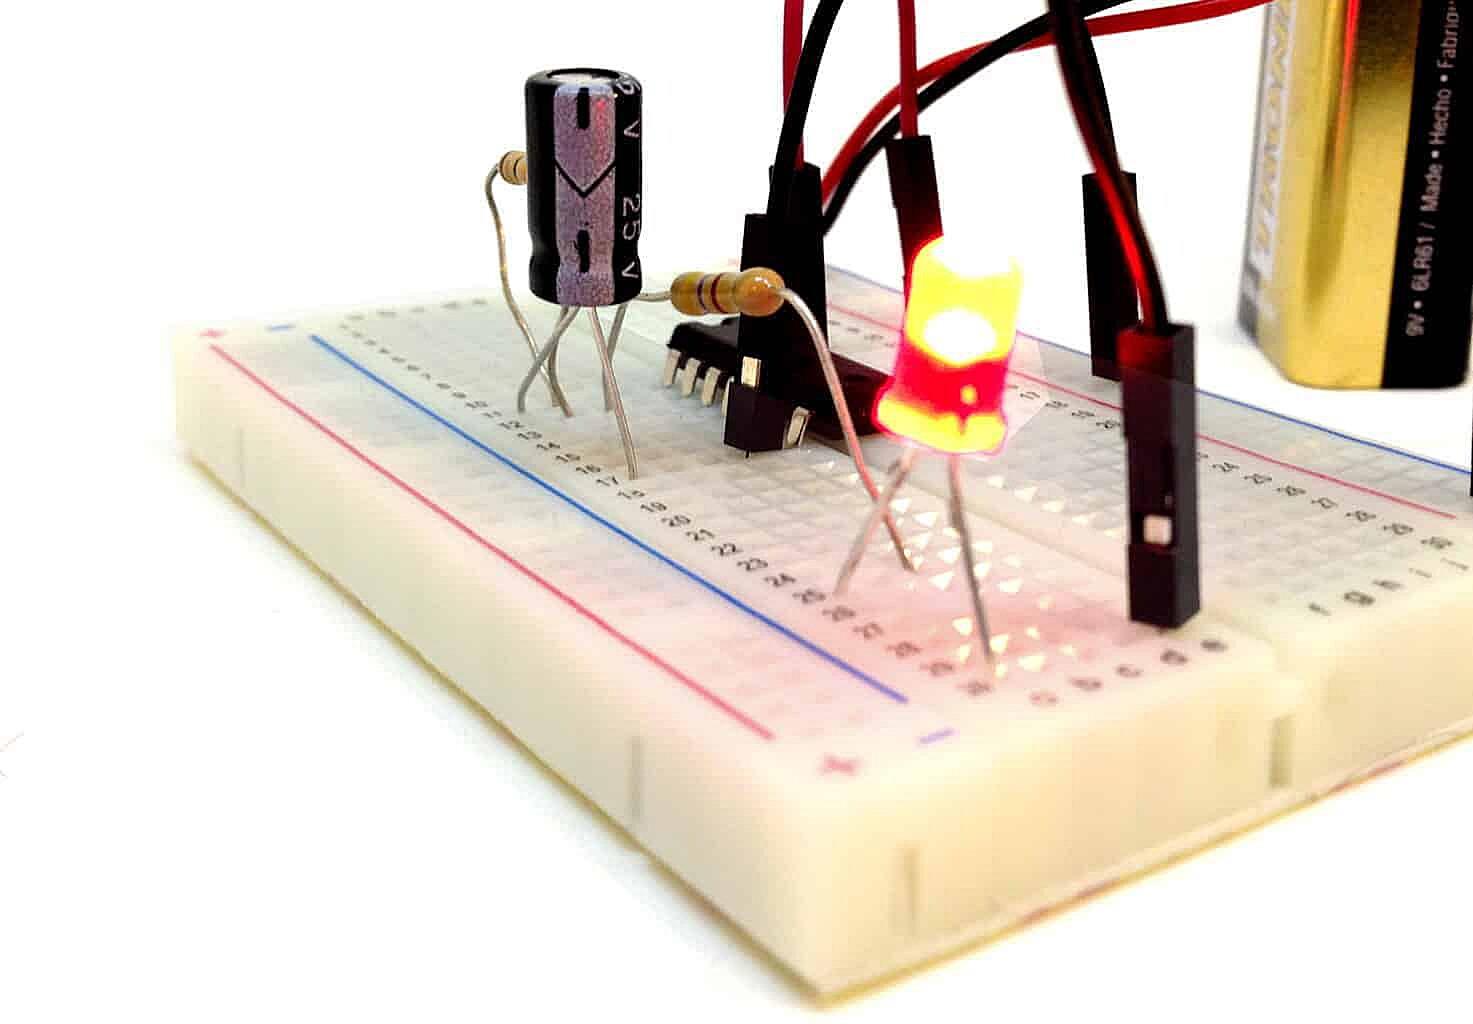
While resistors are the most common and simplest way to limit current to an LED, they are not the only option. In certain situations, other methods may be more suitable or efficient. One alternative is to use a constant current diode, sometimes called a current-regulating diode (CRD). These diodes are specifically designed to maintain a constant current flow regardless of the voltage applied, up to a certain limit. They’re a bit more expensive than resistors, but they offer more precise current control, especially when the input voltage fluctuates.
Another approach involves using a dedicated LED driver IC. These integrated circuits are designed to provide a regulated current source for LEDs, often with additional features like dimming control and over-voltage protection. LED drivers are commonly used in applications where precise current control and efficiency are critical, such as LED lighting fixtures and displays. They are more complex to implement than a simple resistor, but they offer superior performance and reliability.
A third option is to use a current mirror circuit built with transistors. Current mirrors are used to replicate a current flowing in one branch of the circuit in another branch. This can be used to precisely control the current flowing through an LED. This approach is more complex than using a resistor or a constant current diode, but it can be useful in applications where precise current matching is required.
It is important to note that constant current power supplies are also sometimes used in LED projects. When using a constant current power supply, you often do not need a resistor; the constant current power supply will prevent the LED from burning up. When using a constant voltage power supply, you will still need a resistor to prevent the LED from burning up.
FAQ
6. Your Burning Questions Answered
Still have questions swirling around in your head? Here are a few common ones:
Q: What if I use a really low voltage battery, like 1.5V, can I skip the resistor then?
A: Even with a low voltage battery, it’s still generally a bad idea to skip the resistor. The LED still has a specific forward voltage and current requirement. While the risk of immediate burnout might be lower with a 1.5V battery, you’ll still likely shorten the LED’s lifespan and reduce its brightness. Think of it like consistently under-inflating your car tires; they might not explode immediately, but they’ll wear out much faster. It’s always better to be safe than sorry!
Q: I see LEDs with built-in resistors sometimes. What’s the deal with those?
A: You’re right! Some LEDs, especially those designed for simple indicator applications, come with a resistor already integrated into the LED package. These are often marked with a different color or have a slightly larger body. These are safe to connect directly to a specific voltage (usually 5V or 12V), as the resistor is already doing its job. Always double-check the LED’s datasheet to confirm its voltage requirements before connecting it.
Q: Can I use a potentiometer instead of a fixed resistor to control the brightness of an LED?
A: Absolutely! A potentiometer (a variable resistor) can be used to adjust the current flowing through the LED, thereby controlling its brightness. Just make sure the potentiometer is rated for the appropriate power and resistance range. Start with a high resistance and gradually decrease it until you reach the desired brightness. It’s a fun way to experiment and fine-tune your LED projects, kind of like adjusting the volume knob on a stereo.
Picture Gallery of Outrageous Info About What Happens If You Connect An Led Directly To A Battery Without A Resistor