You May Also Like :
Fantastic Tips About Why Use Fpga Instead Of Microcontroller
The Secret Of Info About Can Two Parallel Lines Meet Each Other
Unveiling the Mystery
1. What’s the Buzz About Wireframes?
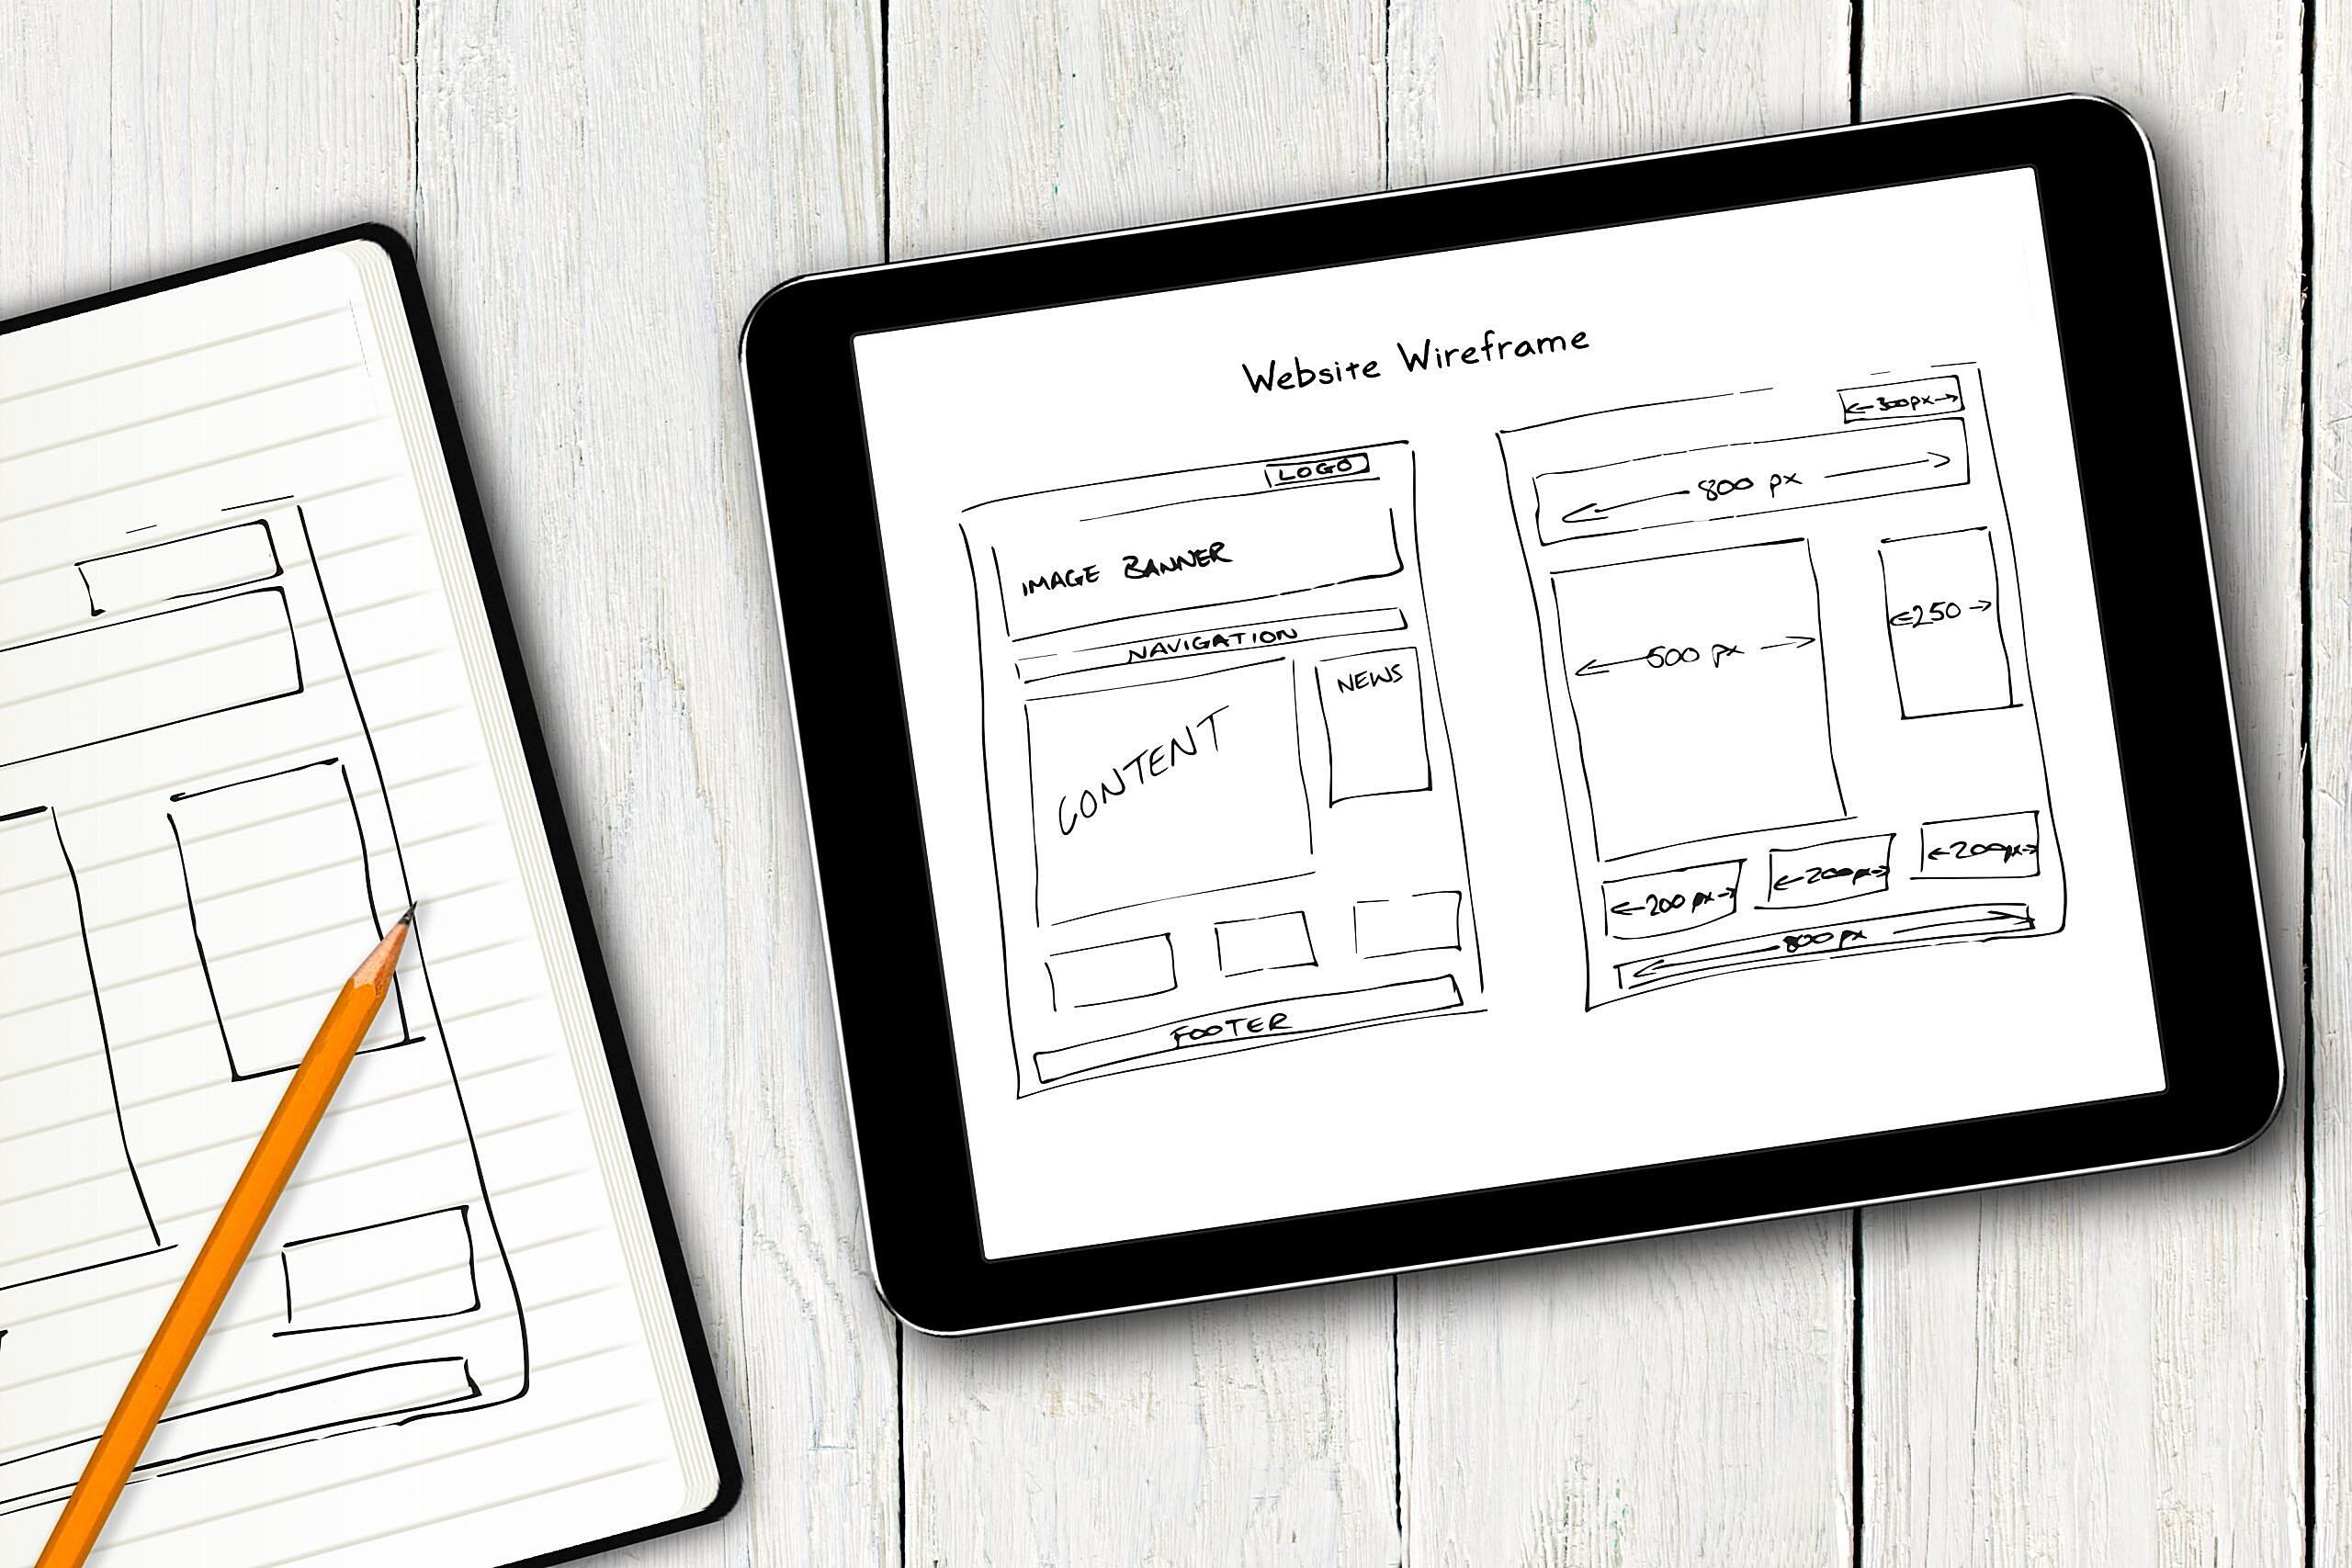
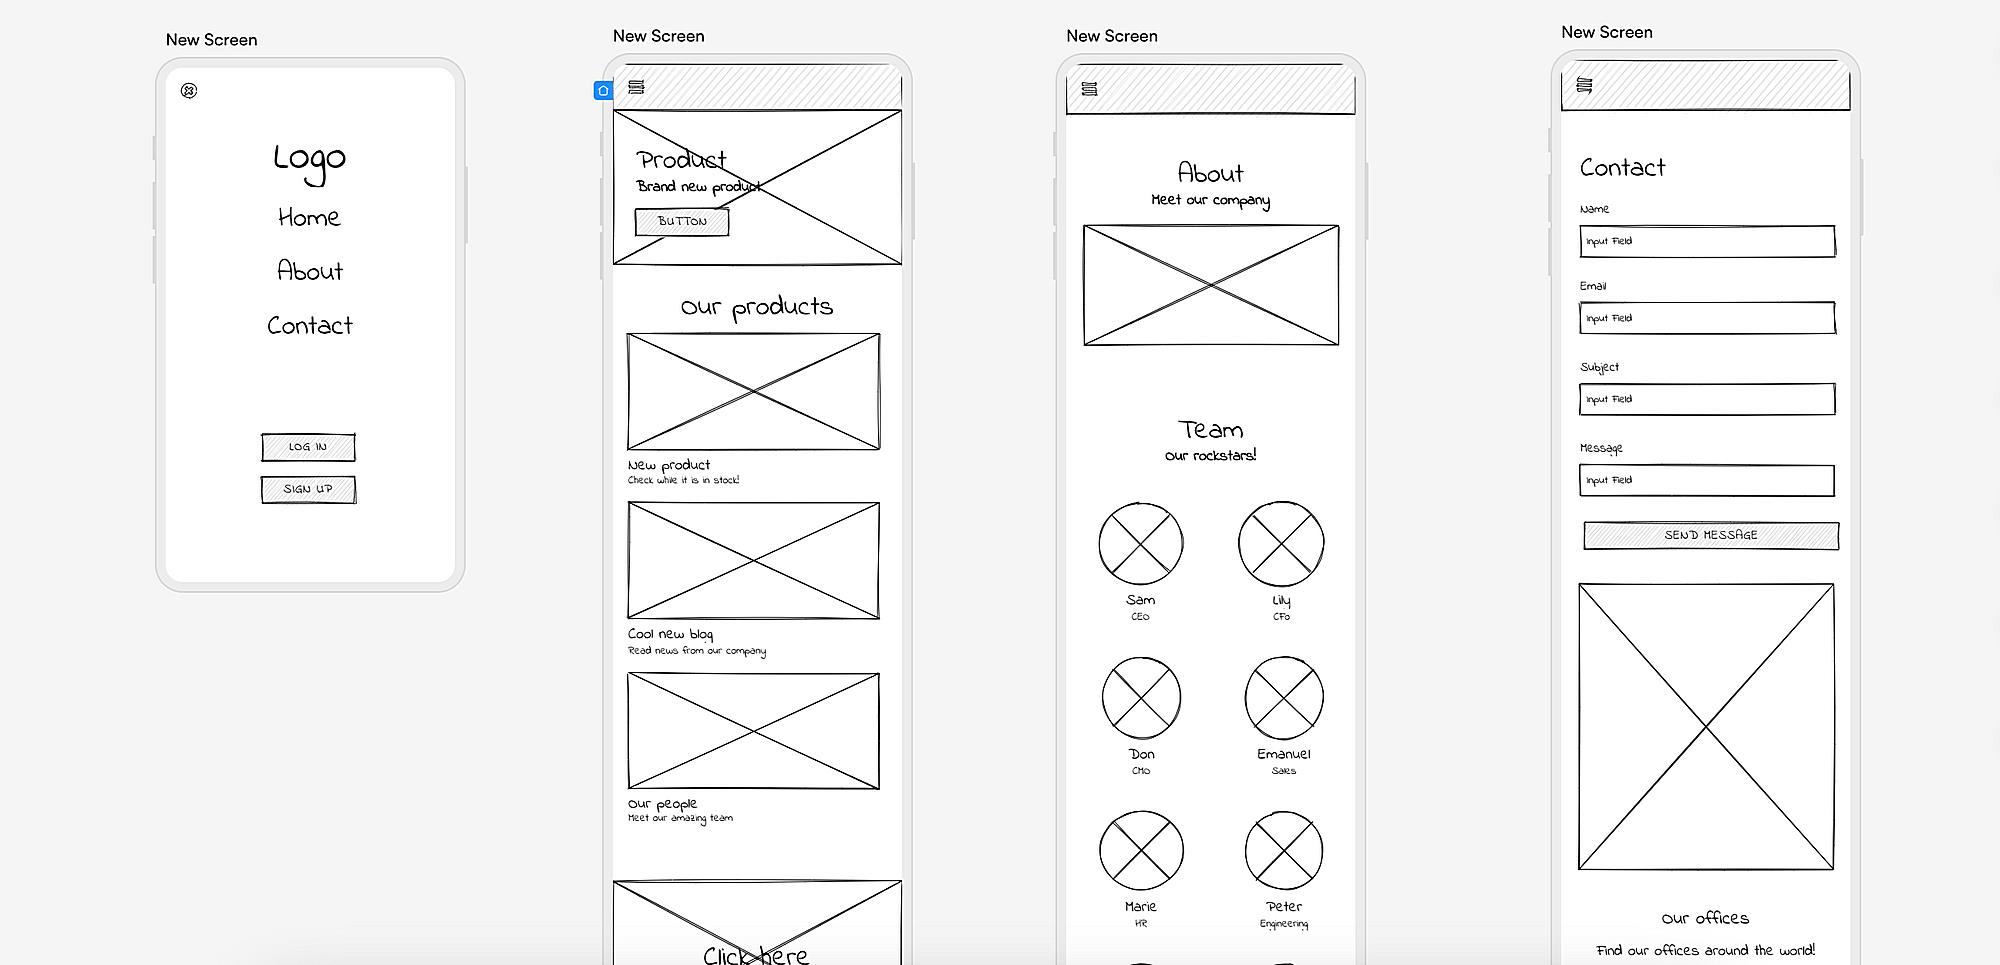
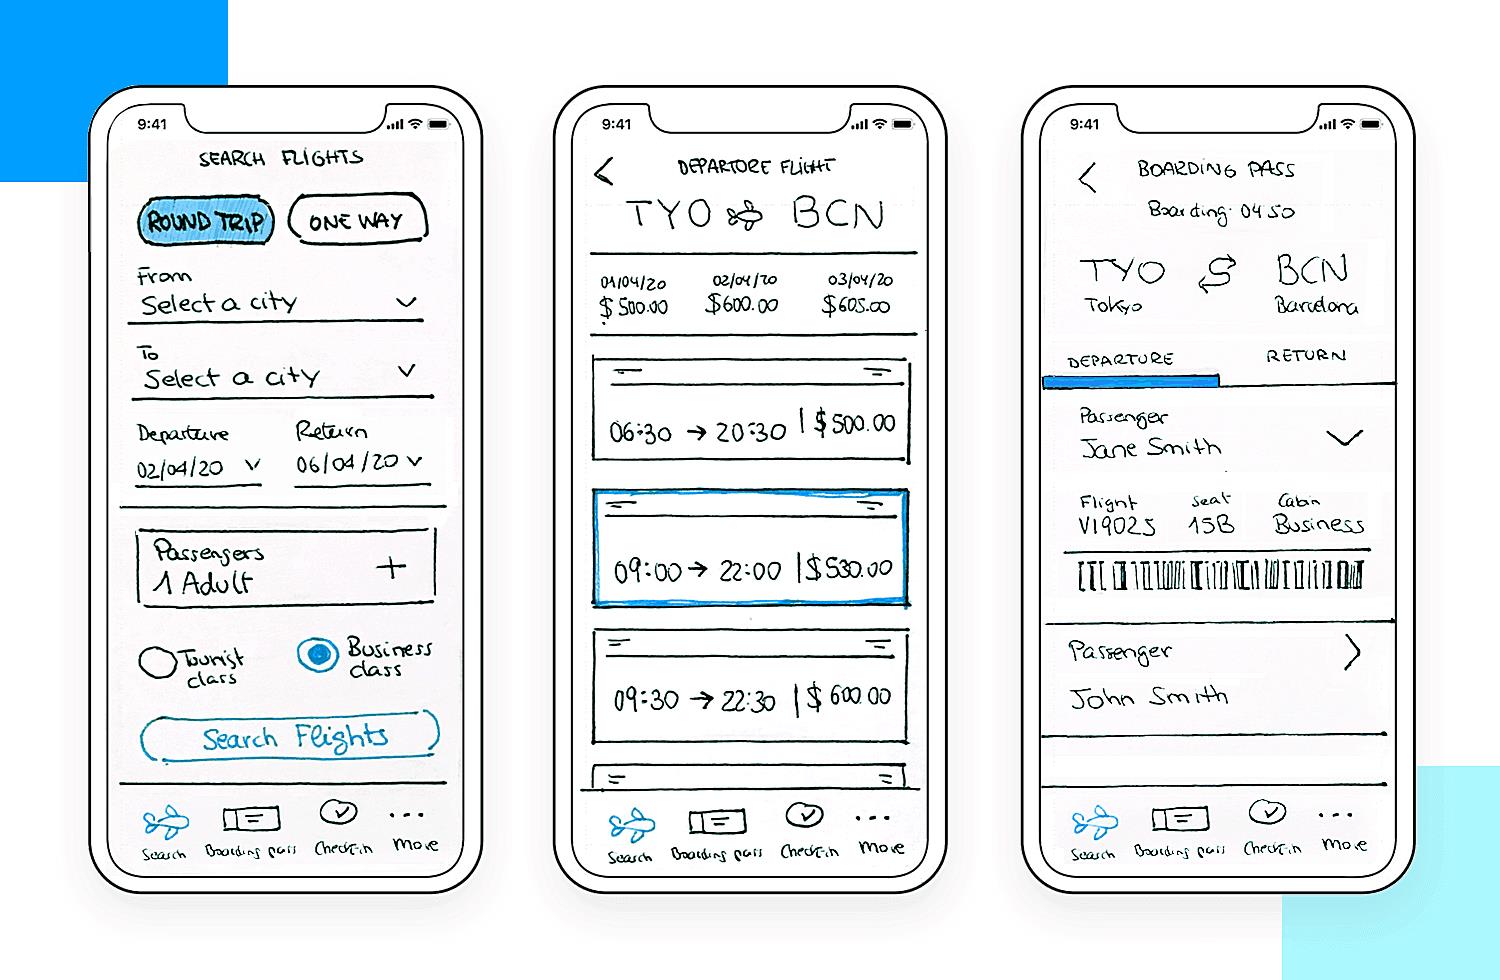
Ever wondered what goes on behind the scenes of your favorite apps and websites? Well, before all the flashy graphics and smooth animations, there’s often a wireframe. Think of it as the blueprint of a digital product. It’s a stripped-down, bare-bones version that focuses on the layout, content, and functionality, without getting bogged down in the visual details. No fancy fonts, no vibrant colors, just pure, unadulterated structure. In essence, wireframes are the architectural plans of the digital world.
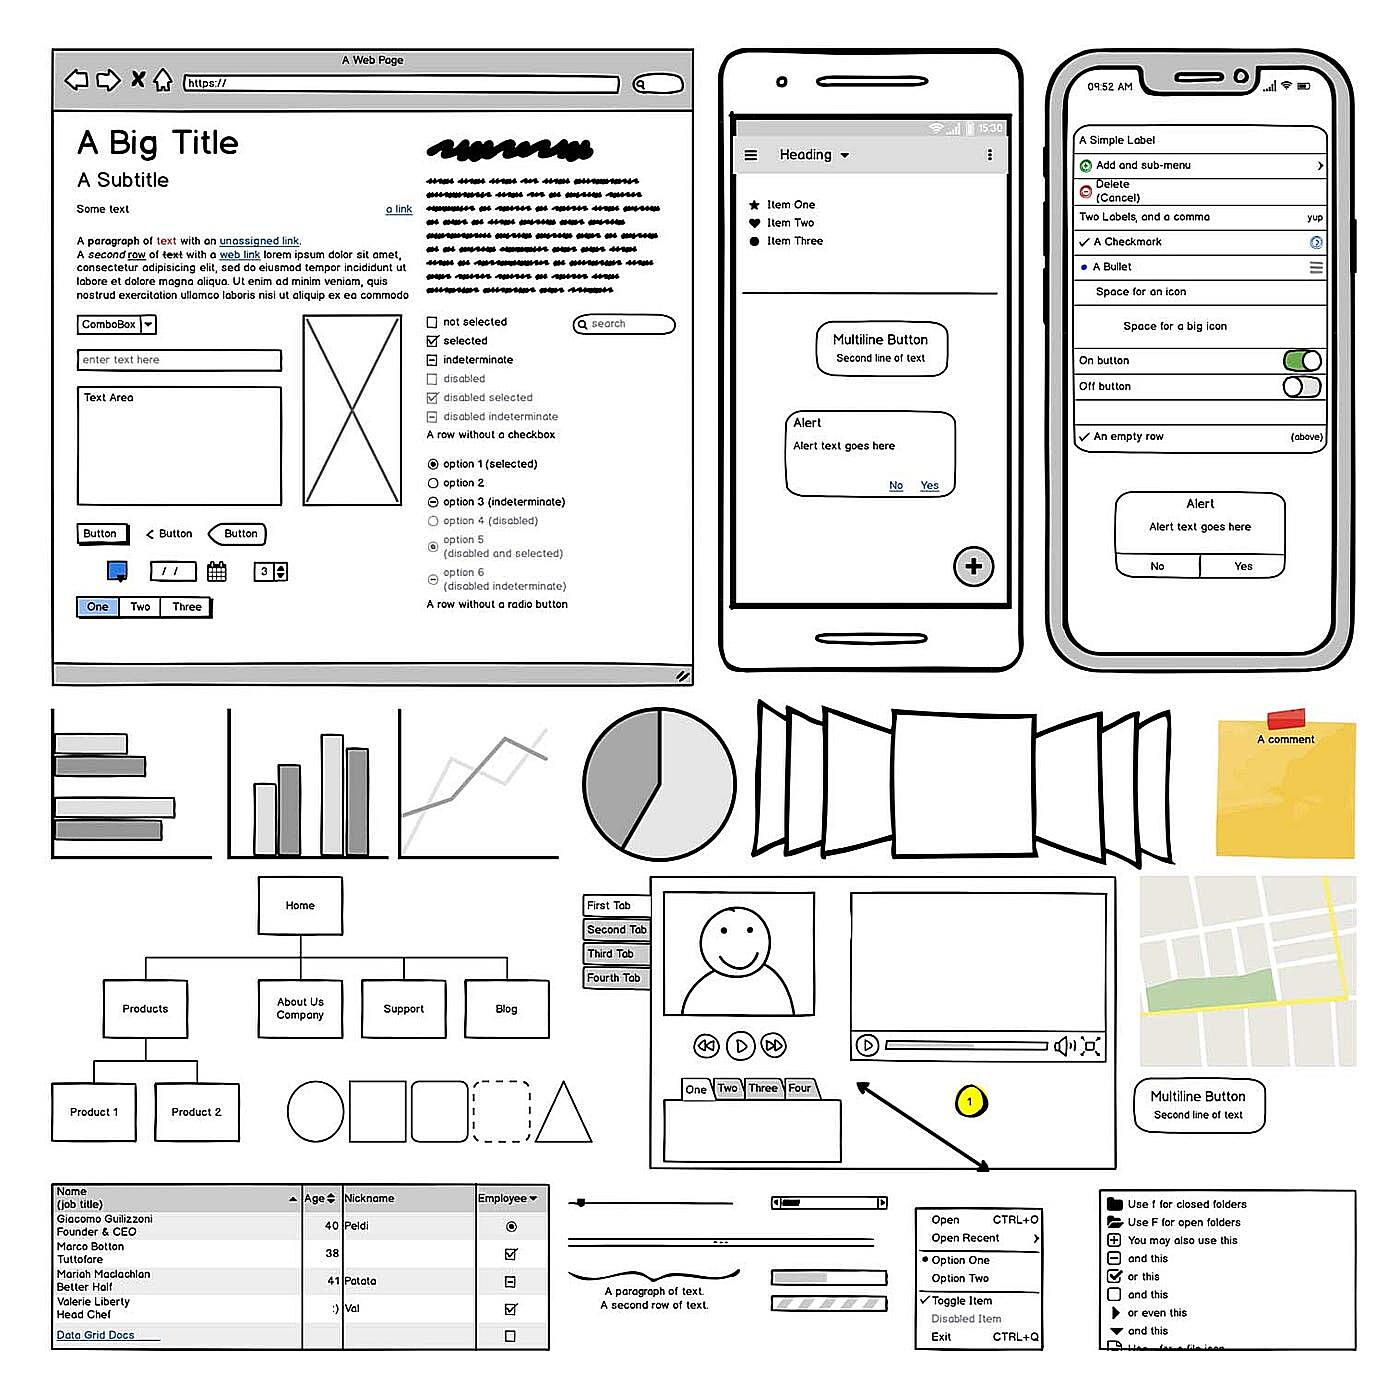
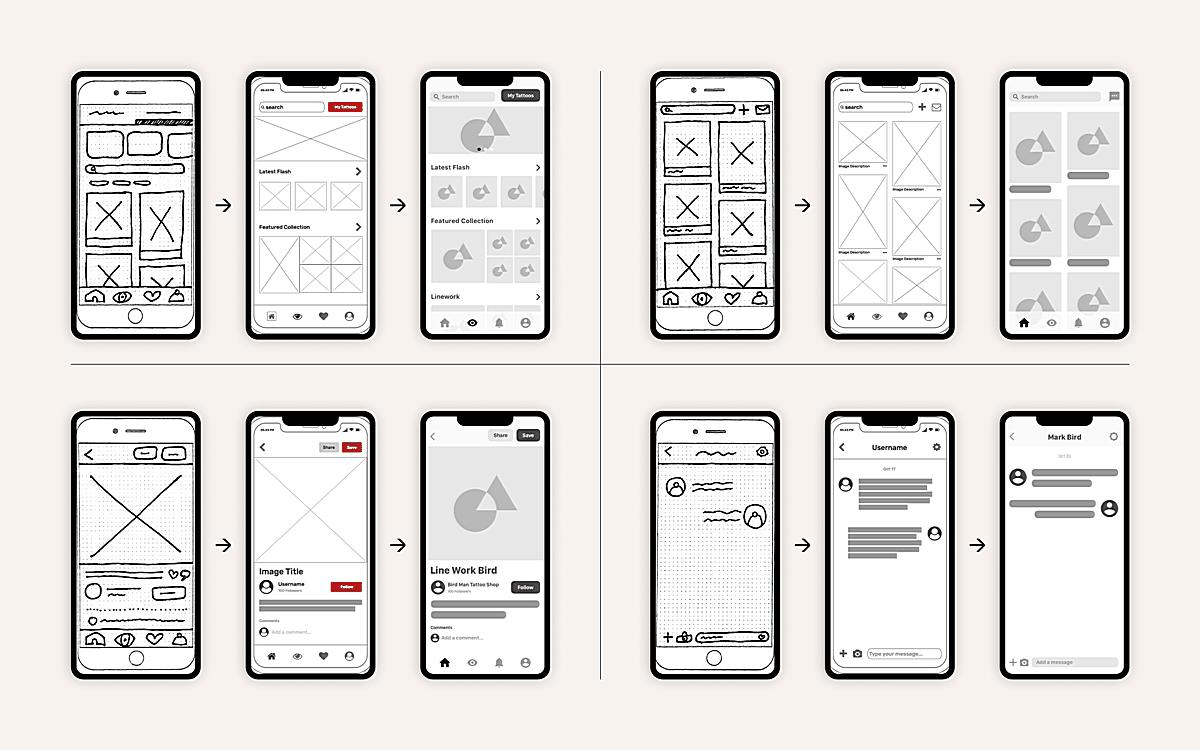
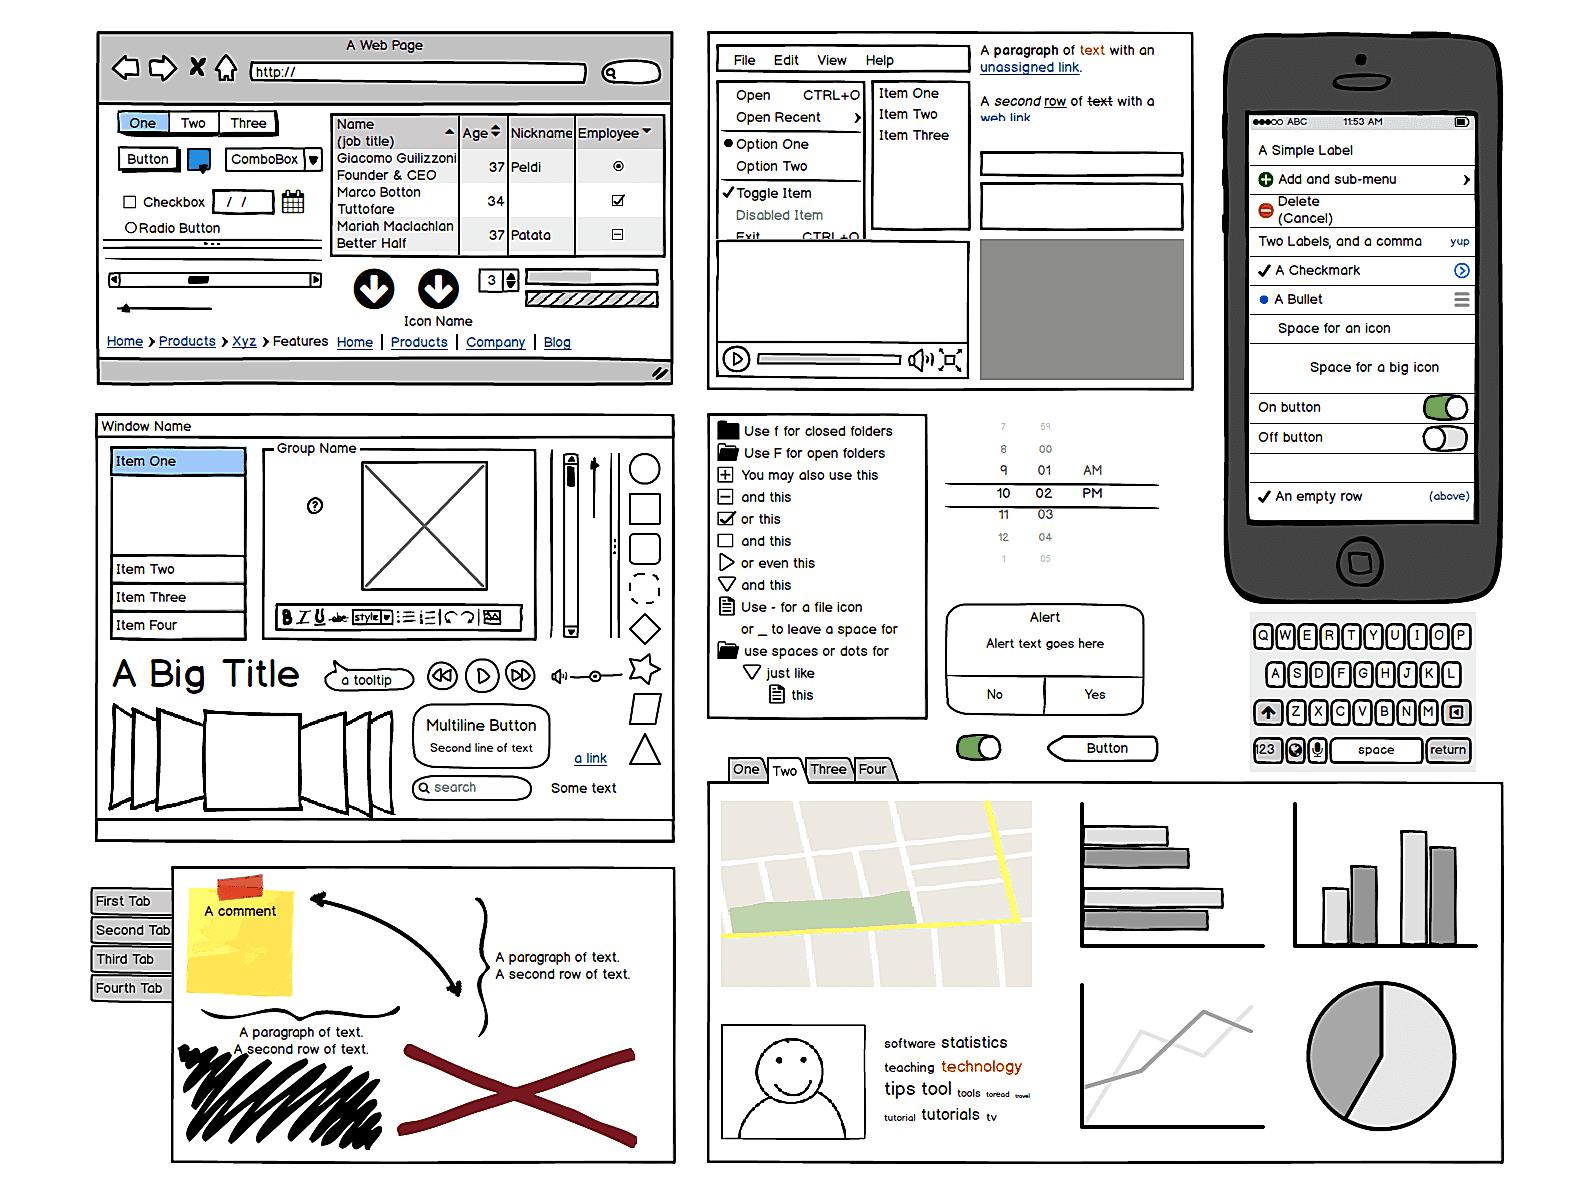
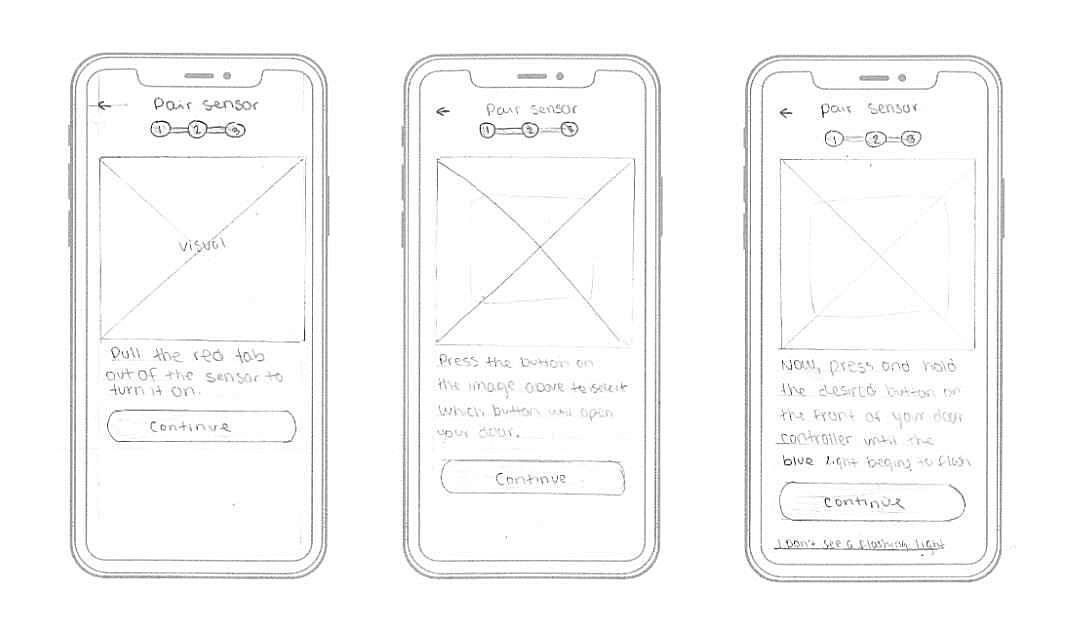
Wireframes come in varying degrees of fidelity. Low-fidelity wireframes are usually quick sketches — think scribbles on a napkin — used for brainstorming and initial concept development. High-fidelity wireframes, on the other hand, are more detailed and resemble the final product more closely, often including actual content and interactive elements. They’re typically created using software like Figma, Sketch, or Adobe XD. It’s all about choosing the right tool for the job at hand, you know?
The main goal of a wireframe is to test and refine the user experience (UX) before investing time and resources in the visual design. By focusing on the core functionality, designers can identify potential usability issues early on and make necessary adjustments. It’s like checking the foundation of a house before you start painting the walls; make sure everything is solid!
Why bother with wireframes anyway? Because they save a ton of time and money in the long run! Imagine building a whole website only to discover that the navigation is confusing or that a crucial feature is missing. Wireframes help prevent these costly mistakes by allowing you to iterate and improve the design based on user feedback. They also facilitate communication between designers, developers, and stakeholders, ensuring everyone is on the same page. It’s a win-win situation, really.
Is a Wireframe a Paper Prototype? Let’s Investigate
2. The Paper Prototype Perspective
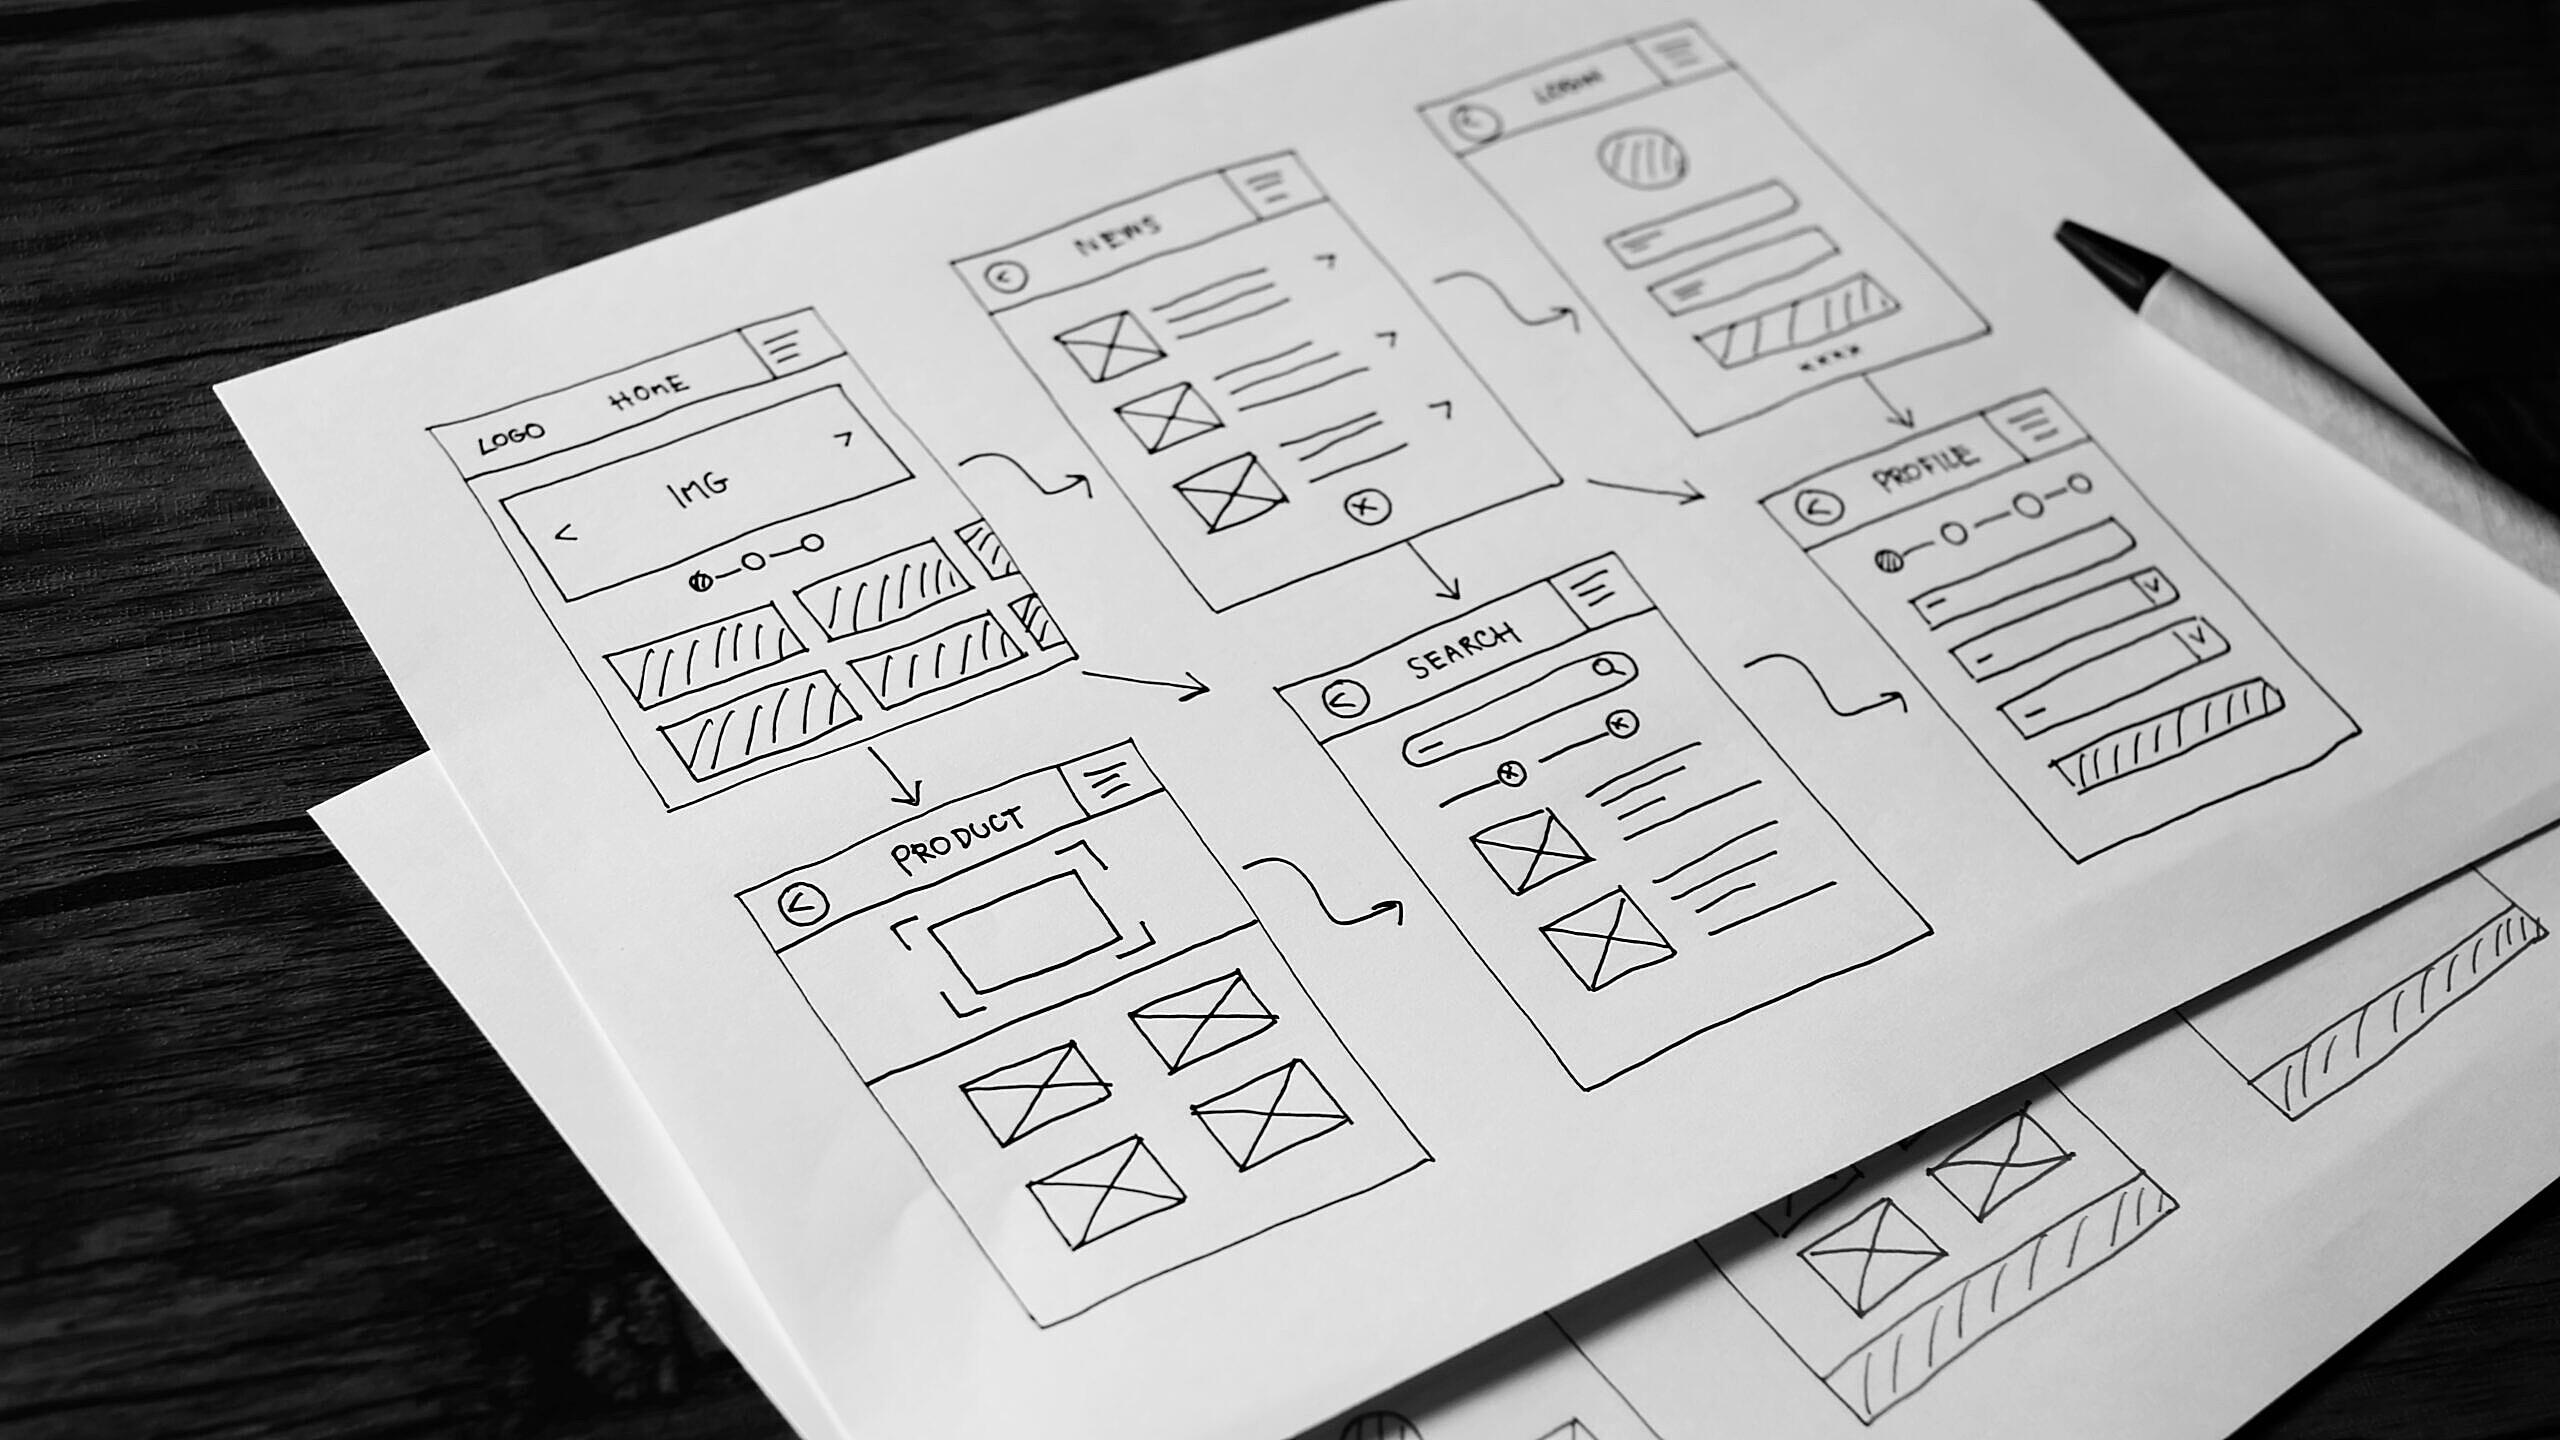
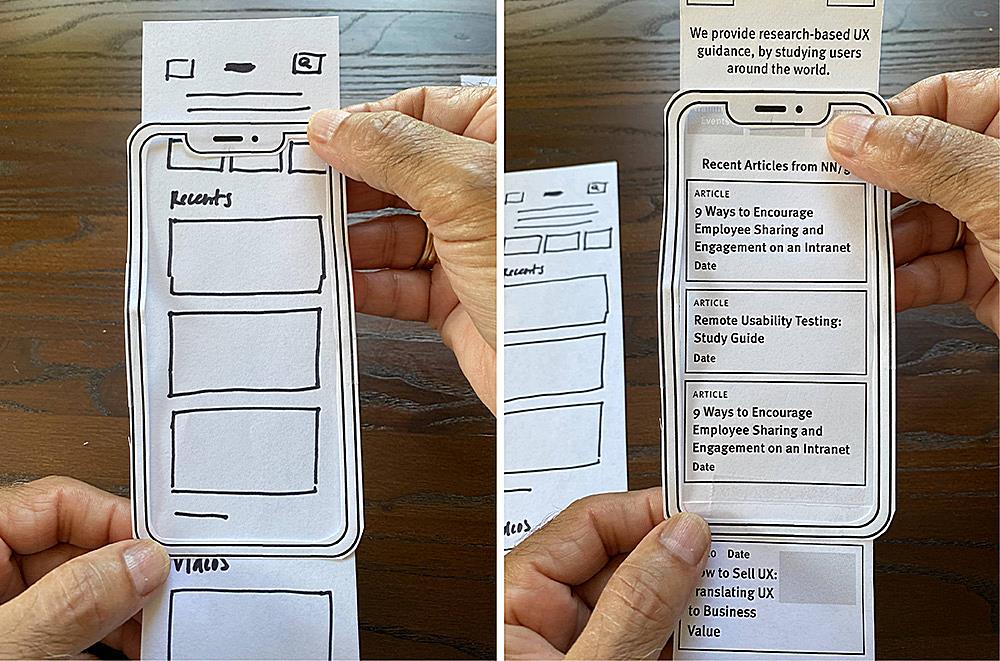
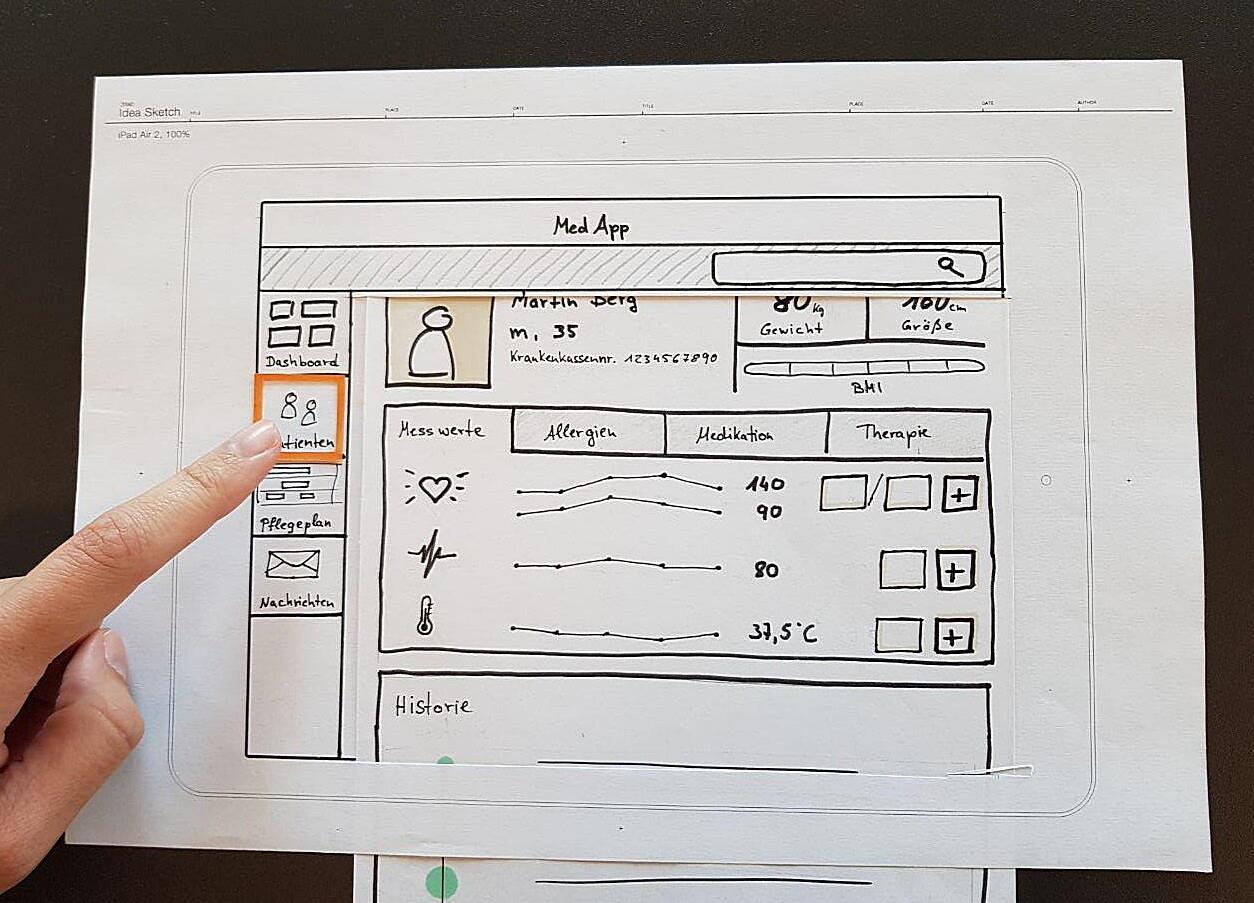
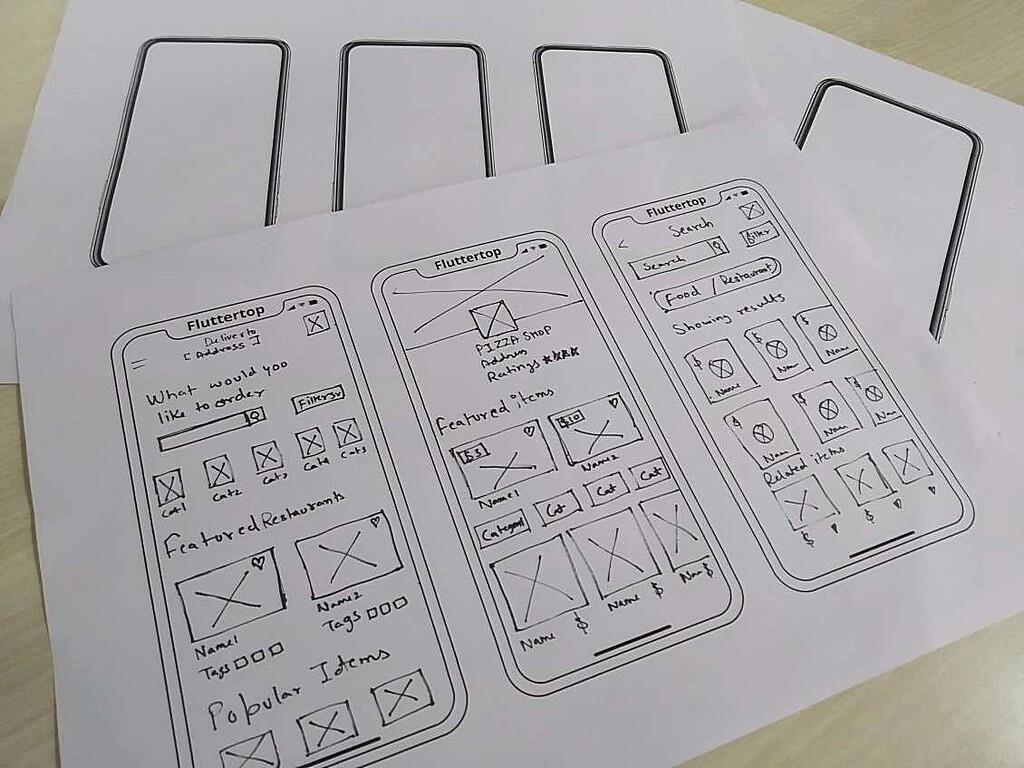
Okay, so here’s where things get interesting. A paper prototype, as the name suggests, is a prototype created using paper and other low-fidelity materials like sticky notes, markers, and scissors. It’s a fast and cheap way to simulate the user experience and test different design ideas. Think of it as a role-playing game for your website or app, where users interact with the paper interface and provide feedback. We’re talking tactile, hands-on design here.
The beauty of paper prototyping lies in its simplicity. Anyone can do it, regardless of their technical skills. It’s all about getting your ideas out of your head and into the real world, where you can see how users actually interact with them. Plus, it’s incredibly easy to make changes to a paper prototype. Simply grab a marker and draw a new button or rearrange some elements. No need to fire up your computer or learn any complicated software. A rubber and pencil, maybe?
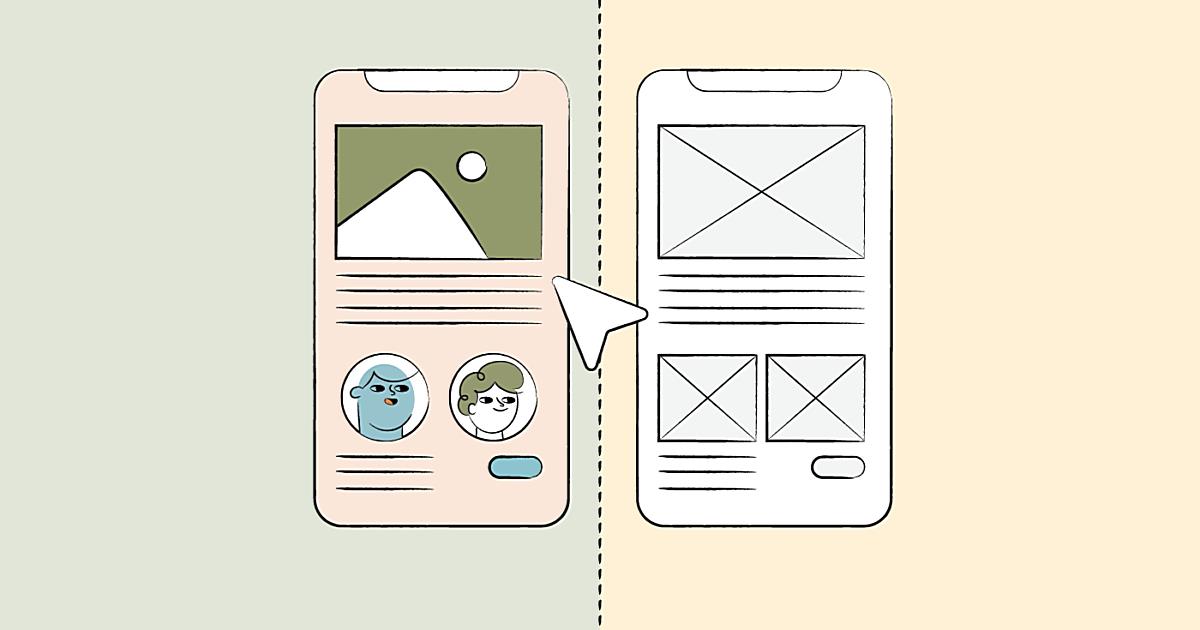
But how does a paper prototype relate to a wireframe? Well, a paper prototype can definitely be a wireframe, especially in the early stages of design. Remember those low-fidelity wireframes we talked about? The scribbles on a napkin? That’s essentially a paper prototype. It’s a quick and dirty way to visualize the basic layout and functionality of a product before moving on to more detailed designs.
The key difference between a general wireframe and a paper prototype is really the medium. A wireframe is a concept — a representation of structure and function. A paper prototype is a tangible manifestation of that concept, created with paper. Therefore, not all wireframes are paper prototypes (they can be digital), but all paper prototypes are wireframes, in a sense. Get it? It’s kind of like squares and rectangles.
Delving Deeper
3. Different Flavors of Wireframes
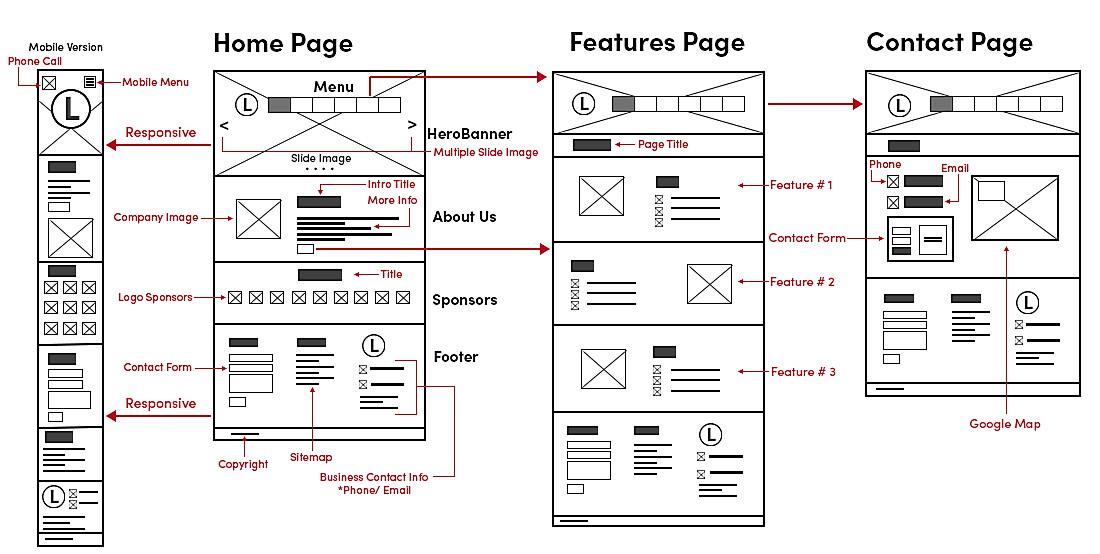
So, can we definitively say that a wireframe is a paper prototype? The answer is both yes and no. It depends on the context and how we define each term. A wireframe, in its broadest sense, is a visual representation of a website or app’s structure. It can be created using various tools and materials, ranging from pencil and paper to sophisticated software. A paper prototype is simply one particular method of creating a wireframe.
Think of it this way: “wireframe” is the umbrella term, and “paper prototype” is one type of under that umbrella. Other types of wireframes include digital wireframes (created using software) and interactive wireframes (which allow users to click through different screens and simulate the user flow). The choice of which type of wireframe to use depends on the specific needs of the project, the stage of the design process, and the resources available.
The crucial point is that both wireframes and paper prototypes share the same goal: to test and refine the user experience before investing in visual design and development. By focusing on the core functionality and layout, designers can identify potential usability issues early on and make necessary adjustments. Whether you use paper and markers or fancy software, the principle remains the same.
Ultimately, the most important thing is to choose the right tool for the job and to use it effectively. Don’t get too hung up on the terminology. Focus on creating a clear and concise representation of your design that you can use to gather feedback and improve the user experience. It doesn’t matter if you call it a wireframe, a paper prototype, or a doodle on a napkin, as long as it serves its purpose.
When Paper Prototypes Shine
4. Situations Where Paper Reigns Supreme
While digital wireframing tools are powerful, paper prototypes still hold a special place in the design process. They’re particularly useful in the early stages of brainstorming and concept development, when you need to quickly explore different ideas and gather feedback from a diverse group of stakeholders. Paper prototypes are also great for user testing, as they encourage users to think more critically about the design and provide more honest feedback. After all, it’s easier to criticize a piece of paper than a polished digital mockup!
Another advantage of paper prototypes is their accessibility. Anyone can create and use them, regardless of their technical skills or budget. This makes them ideal for involving non-designers in the design process, such as developers, marketers, and even end-users. By giving everyone a voice, you can ensure that the final product meets the needs of all stakeholders. Think collaborative design, rather than just individual genius.
Furthermore, paper prototypes are incredibly flexible. You can easily adapt them to different situations and user needs. For example, you can create a paper prototype of a mobile app using index cards and sticky notes, or you can create a paper prototype of a website using large sheets of paper and markers. The possibilities are endless! All that’s needed is a little imagination.
Lastly, paper prototypes are just plain fun! They encourage creativity and experimentation, and they can help you break out of your usual design patterns. By working with physical materials, you can tap into your kinesthetic intelligence and discover new ways to solve design problems. So, next time you’re feeling stuck on a design project, ditch the computer and grab a pen and paper. You might be surprised at what you come up with.
Beyond Definition
5. Pro-Tips for Stellar Paper Prototypes
So, you’re convinced about the value of paper prototyping, right? Awesome! But before you dive in, here are a few tips to help you create effective and engaging paper prototypes. First, start with a clear goal in mind. What are you trying to test or validate? What questions do you want to answer? Having a clear objective will help you focus your efforts and ensure that you get the most out of your paper prototyping sessions.
Second, keep it simple. Don’t get bogged down in the details. Focus on the core functionality and user flow. Use simple shapes and icons to represent elements like buttons, links, and images. Remember, the goal is to test the user experience, not to create a visually stunning mockup. Use color sparingly, and stick to a consistent visual language. Consider using different colored sticky notes to represent different types of content or interactions.
Third, involve your users. The whole point of paper prototyping is to get feedback from real users. So, make sure you involve them in the process from the very beginning. Ask them to interact with the paper prototype and to provide feedback on their experience. Observe how they use the prototype and listen carefully to their comments and suggestions. Don’t be afraid to ask clarifying questions and to probe deeper into their thoughts and feelings. The more user input you get, the better your final product will be.
Fourth, iterate and improve. Paper prototyping is an iterative process. Don’t expect to get it right the first time. Be prepared to make changes and improvements based on user feedback. After each round of testing, take some time to reflect on what you’ve learned and to identify areas for improvement. Then, make the necessary changes to the paper prototype and test it again. Repeat this process until you’re satisfied with the user experience.
FAQ
6. Frequently Asked Questions
Still have some questions lingering? No problem! Here are some frequently asked questions about paper prototypes to clear up any remaining confusion:
Q: What materials do I need to create a paper prototype?
A: The beauty of paper prototyping is that you don’t need any fancy materials. All you need is paper, markers, sticky notes, scissors, and a little imagination. You can also use other materials like cardboard, tape, and string to create more elaborate prototypes. Get creative!
Q: How long should a paper prototyping session last?
A: A typical paper prototyping session should last about 30-60 minutes. This gives users enough time to interact with the prototype and provide meaningful feedback, without getting bored or overwhelmed. But hey, rules are meant to be broken, so do what is best for your users!
Q: How many users should I involve in a paper prototyping session?
A: Aim for at least 5-8 users per session. This will give you a good range of perspectives and help you identify common usability issues. However, even testing with just one user is better than testing with none. Don’t let perfection be the enemy of progress!
Picture Gallery of Beautiful Work Tips About Is Wireframe A Paper Prototype