
Is Your 24V DC Feeling Under the Weather? Time for a Multimeter Checkup!
1. Why Bother Checking 24V DC Anyway?
Ever wonder if that fancy electronic gadget of yours is getting the juice it needs? Or maybe your DIY project is acting a bit temperamental? A stable 24V DC power supply is the backbone of many electronic systems. Its crucial for everything from industrial automation equipment to, well, powering your slightly-too-ambitious garden lighting setup. If things aren’t working correctly, or at all, checking the voltage is a great place to start troubleshooting. Don’t just assume the power supply is doing its job; confirm it!
Think of it like this: your electronics are thirsty plants, and 24V DC is their water. Too little, and they wilt. Too much, and well, lets just say things can get a little crispy (and expensive). That’s why understanding how to check 24V DC with multimeter is so important.
Plus, a fluctuating or incorrect voltage can indicate a bigger problem brewing. It could be a failing power supply, a loose connection, or even a hidden short circuit. Catching these issues early can save you from a major headache down the road. Think of it as preventative maintenance for your electronic ecosystem.
So, before you start tearing things apart or throwing money at new components, grab your multimeter and let’s get to the bottom of things. You might be surprised at how easy it is, and youll feel like a total electronics guru in the process. Who knows, you might even impress your neighbours with your newfound electrical prowess!
2. What You’ll Need Before You Start
Okay, before we dive in, let’s make sure you’re properly equipped. Think of this as gathering your tools before embarking on a quest. It wouldn’t do to face a dragon without a sword, and it certainly wouldn’t do to test voltage without the right equipment. The heart of this mission is a multimeter, of course, but there are a few other items that make the process smoother and safer.
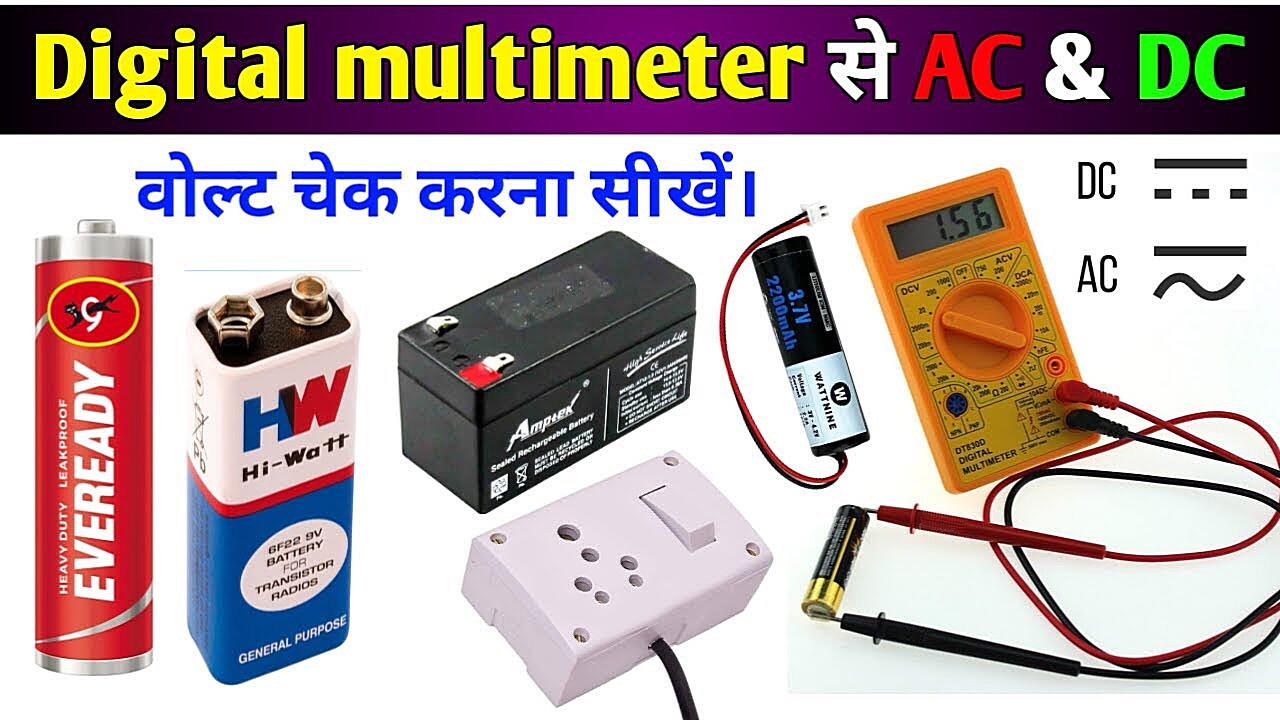
First, the star of the show: a digital multimeter (DMM). Analog multimeters are cool and retro, but digital ones are generally more accurate and easier to read, especially for beginners. Make sure it’s in good working order and that you have fresh batteries. A multimeter with an auto-ranging feature is a lifesaver, but not strictly necessary.
Next, you’ll need some test leads. These are the wires that connect your multimeter to the circuit you’re testing. Ensure they’re in good condition, with no frayed wires or broken connections. Sometimes, alligator clips can be incredibly useful for attaching the leads to terminals, especially in tight spaces. Think of them as tiny helping hands.
Finally, and this is super important: safety gear! At a minimum, wear safety glasses to protect your eyes. Also, consider wearing insulated gloves, especially if you’re working with higher voltages. Treat electricity with respect, even at 24V DC. A little caution goes a long way in preventing accidents. And remember, if you’re ever unsure about anything, it’s always best to consult with a qualified electrician. Safety first!
Setting Up Your Multimeter for 24V DC Checks
3. Dialing in the Right Settings
Alright, now that you have all your gear, let’s get that multimeter ready for action. Setting it up correctly is half the battle. Messing this step up can lead to inaccurate readings or, even worse, damage to your multimeter. So, pay attention, and let’s get this right!
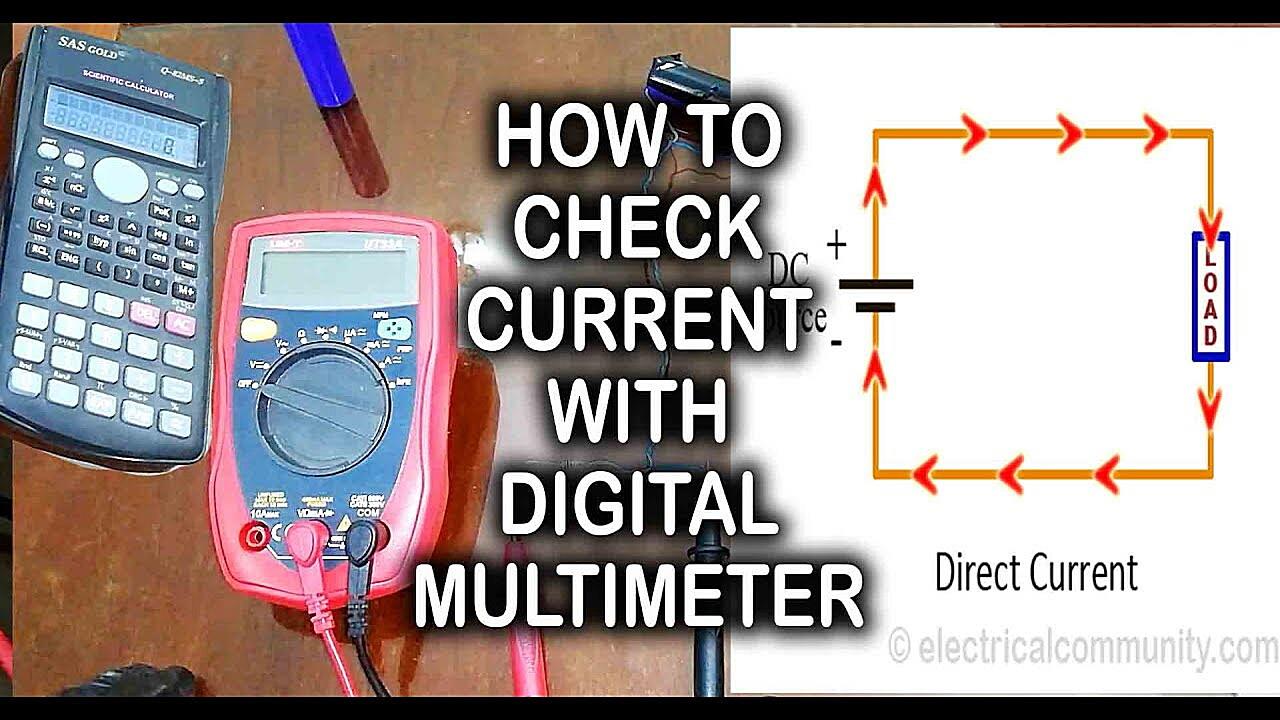
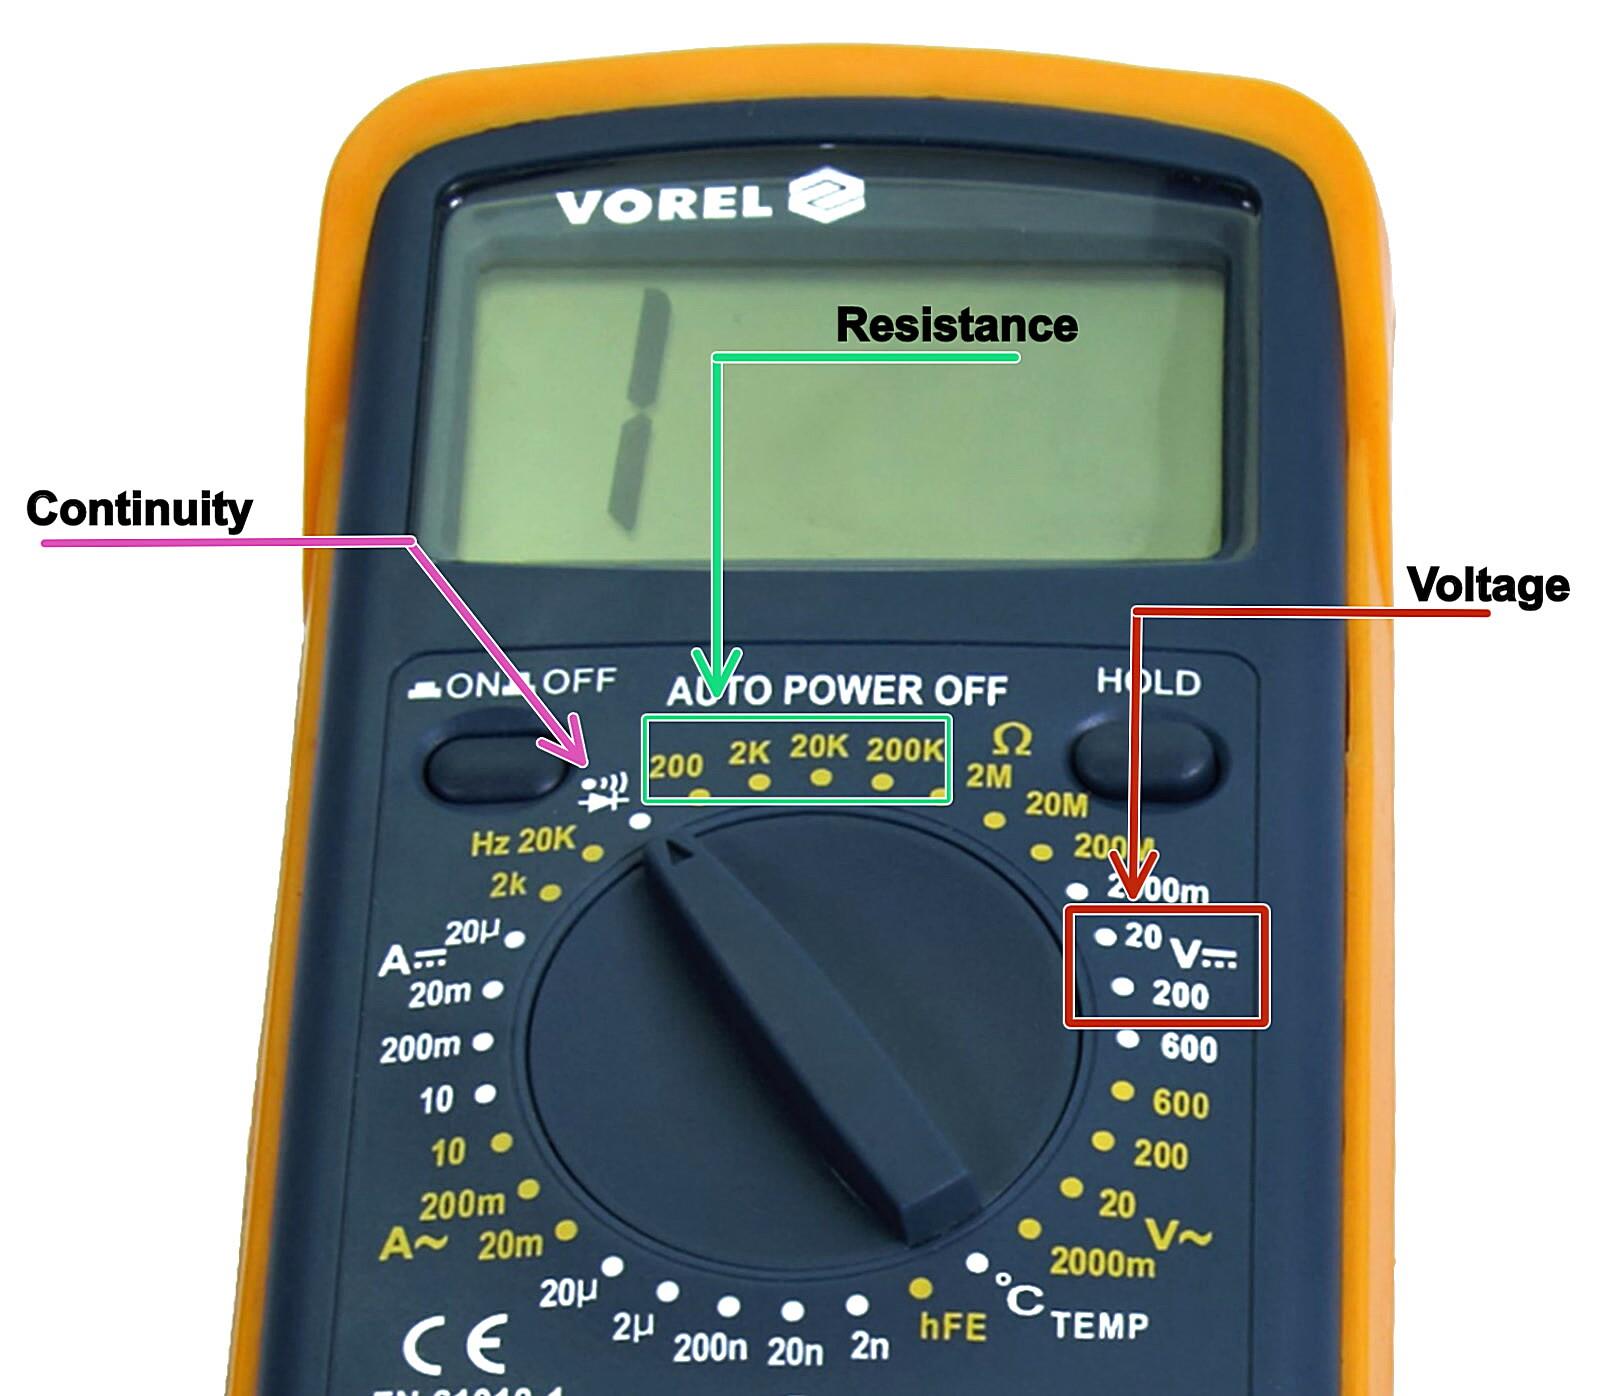
The first thing you’ll want to do is locate the DC voltage (DCV or VDC) setting on your multimeter. It’s usually indicated by a “V” with a straight line above it, sometimes with a dotted line underneath. If your multimeter has multiple DC voltage ranges, youll want to select a range thats higher than 24V. For example, if you have ranges like 2V, 20V, 200V, and 1000V, choose the 200V setting. This ensures that your multimeter can accurately measure the voltage without being overloaded. If your meter is “auto-ranging,” you don’t have to worry about this part at all!
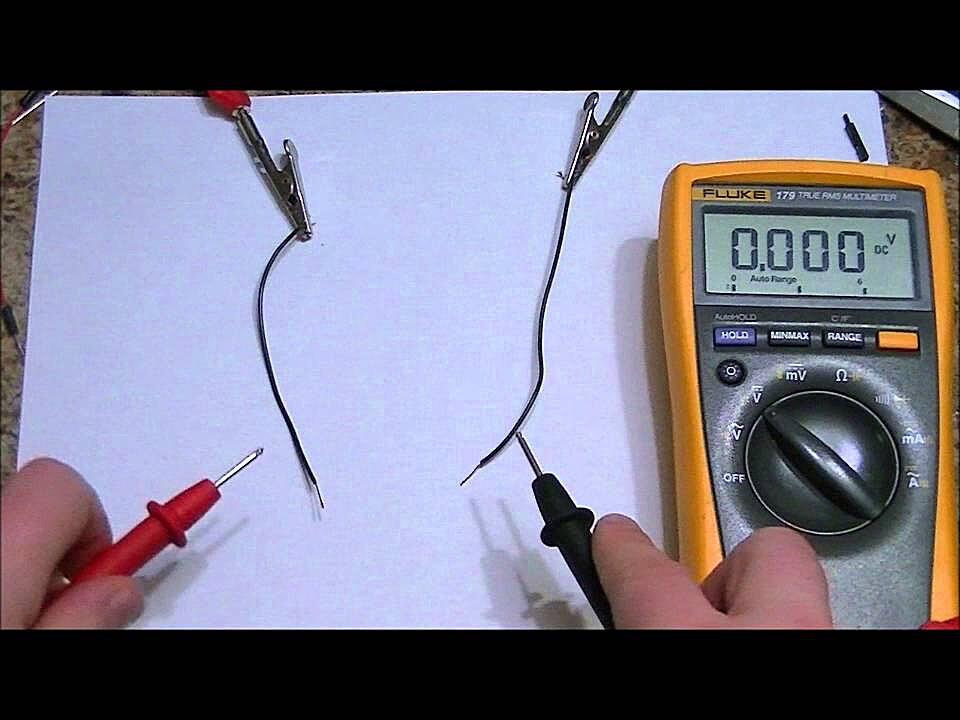
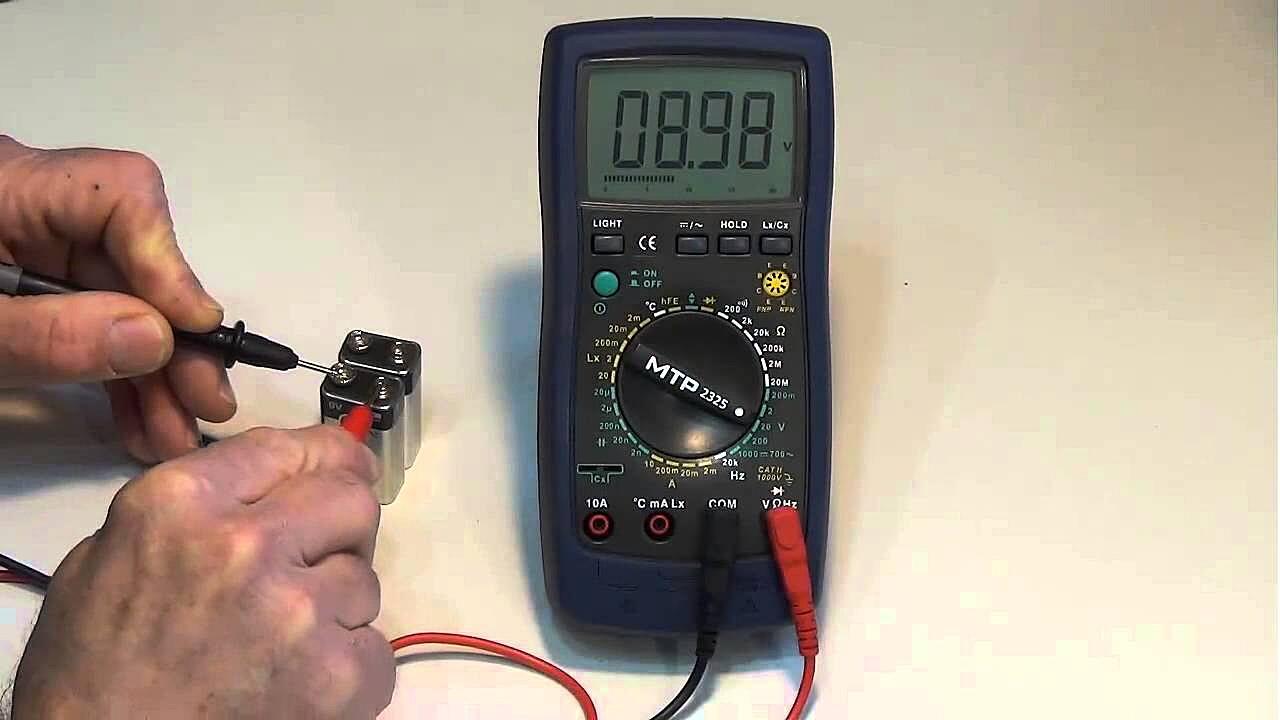
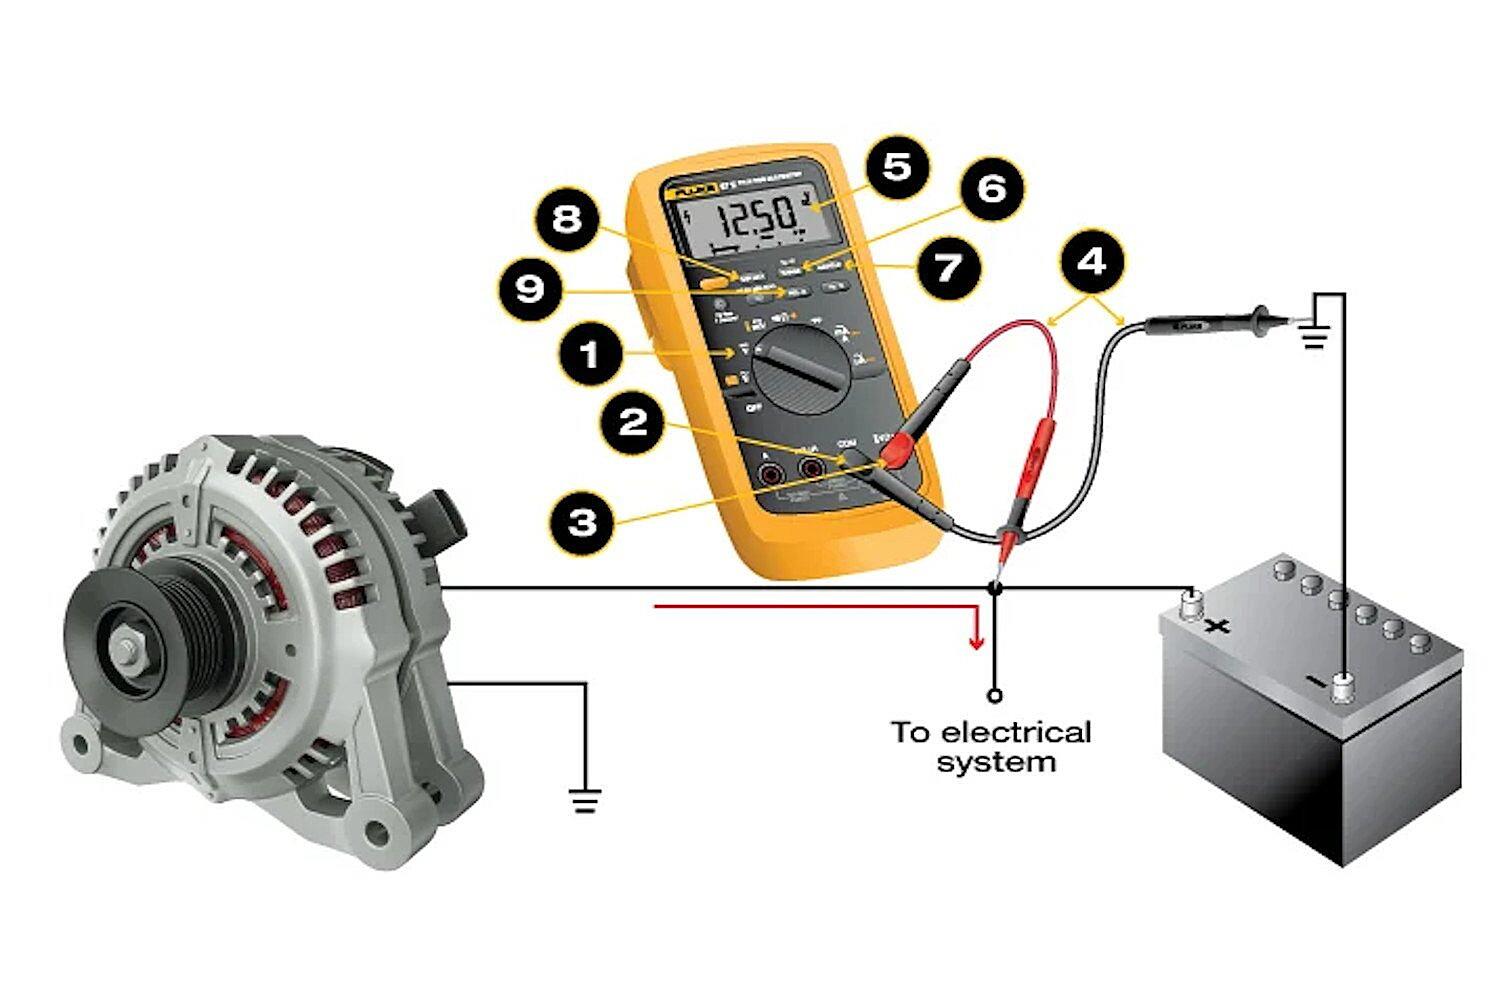
Next, plug your test leads into the correct jacks on the multimeter. The black lead (negative) goes into the jack labeled “COM” (common), and the red lead (positive) goes into the jack labeled “V” (voltage). Double-check this step, as incorrect connections can lead to inaccurate readings or, in rare cases, damage to the meter.
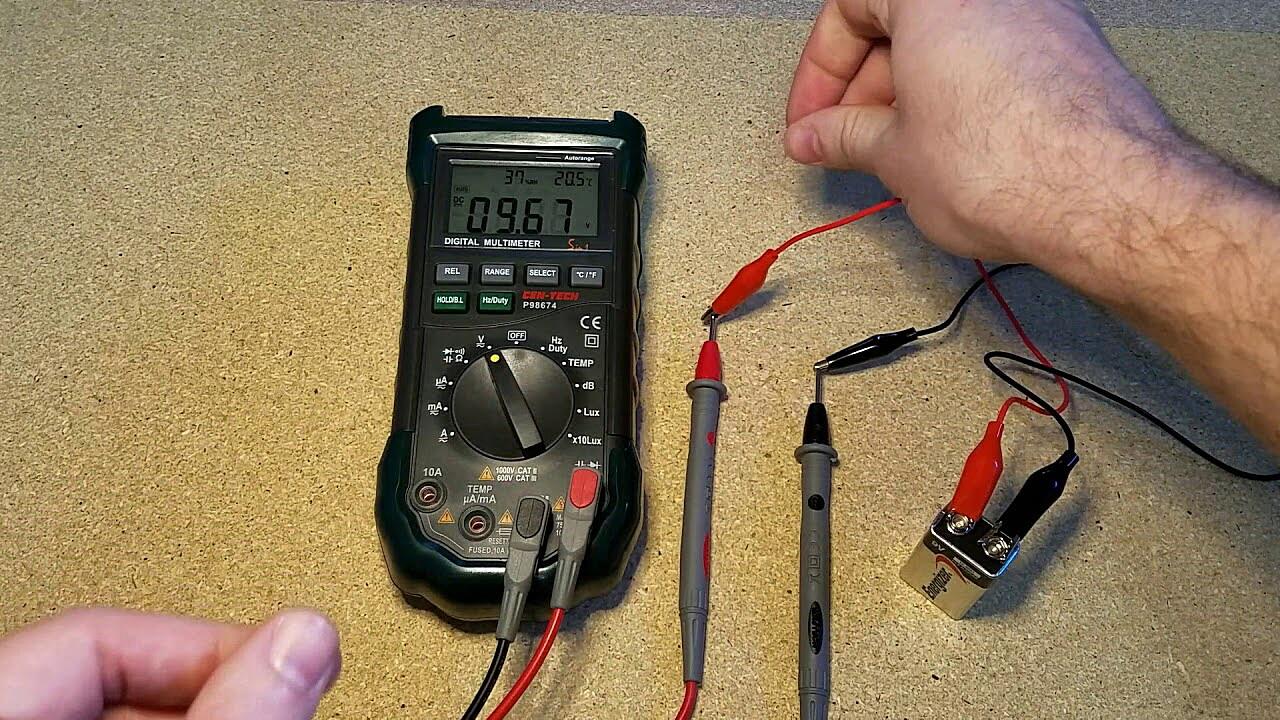
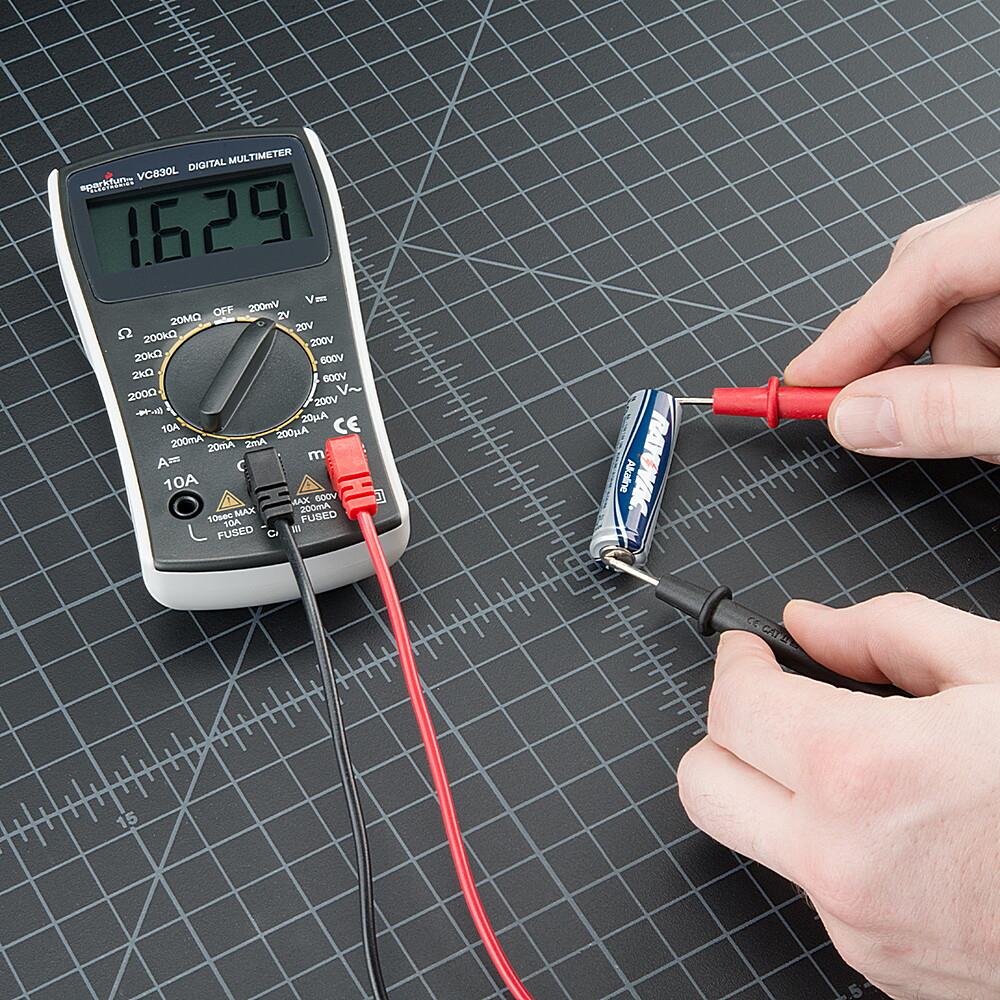
Finally, before you start probing around, it’s a good idea to test your multimeter on a known voltage source. A 9V battery is perfect for this. Simply touch the red lead to the positive terminal and the black lead to the negative terminal. You should see a reading close to 9V on the display. If the reading is significantly off, or if you get no reading at all, there might be something wrong with your multimeter or your test leads. Address any issues before proceeding with testing your 24V DC source. This quick check ensures your equipment is working correctly and that you can trust the readings you’ll be taking.
4. Connecting the Probes — Polarity Matters!
Connecting the probes might seem straightforward, but there’s a little trick to it: polarity. Think of it like putting batteries in a remote control — get it wrong, and nothing happens (or worse). With DC voltage, the positive and negative connections matter. If you reverse them, you’ll likely get a negative reading on your multimeter, but it won’t damage anything as long as you’re measuring DC voltage.
Identify the positive (+) and negative (-) terminals of your 24V DC source. These are usually clearly marked. If you’re unsure, consult the device’s documentation or look for markings on the power supply itself. Once you’ve located the terminals, connect the red (positive) probe of your multimeter to the positive terminal of the 24V DC source, and the black (negative) probe to the negative terminal. Ensure that the probes are making good contact with the terminals. A loose connection can lead to inaccurate readings or no reading at all.
For best results, try to keep your hands away from the metal tips of the probes while you’re taking the measurement. This can help to minimize interference and ensure a more accurate reading. If you’re working in a tight space, alligator clips can be incredibly helpful for attaching the probes to the terminals, freeing up your hands. Just make sure the clips are securely attached and that they’re not touching each other.
Remember, a steady hand and good connections are key to getting reliable readings. Take your time, double-check your connections, and you’ll be well on your way to diagnosing your 24V DC issues. After the probes are connected to correct polarity, observe the reading. An acceptable range is generally within 10% of 24V DC. Anything more or less might indicate a problem with the power supply or the load it’s driving.
Reading and Interpreting Your Multimeter Results
5. Deciphering the Numbers
Okay, you’ve connected the probes, and the multimeter is displaying a number. But what does it all mean? Is 23.8V good? Is 25V bad? Don’t panic! Let’s break it down. The ideal scenario is, of course, a reading that’s as close to 24V as possible. However, in the real world, things aren’t always perfect. A little bit of variation is perfectly normal.
As a general rule of thumb, a voltage that’s within 5% of the nominal voltage is usually considered acceptable. In the case of 24V DC, that means anything between 22.8V and 25.2V is likely within the normal operating range. However, the acceptable range can vary depending on the specific application and the tolerance of the components being powered. Check the manufacturer’s specifications for the device you’re testing to determine the acceptable voltage range.
If the voltage is significantly higher than 25.2V, it could indicate a problem with the power supply regulation. Overvoltage can damage sensitive electronic components, so it’s important to address this issue promptly. Conversely, if the voltage is significantly lower than 22.8V, it could indicate a problem with the power supply, a loose connection, or excessive load on the circuit. Low voltage can cause devices to malfunction or not operate at all.
If you’re getting a reading that’s outside the acceptable range, don’t immediately assume that the power supply is faulty. Double-check your connections, make sure the load isn’t drawing excessive current, and try testing the voltage at different points in the circuit to isolate the problem. Sometimes, a simple loose connection or a faulty component downstream can cause a voltage drop.
6. Troubleshooting Based on Your Readings
So, you’ve got your reading. Now what? Let’s play detective and figure out what your multimeter is trying to tell you. The voltage is your clue, and now it’s time to solve the mystery of the misbehaving 24V DC.
If you’re getting a reading of 0V, the first thing to check is your connections. Make sure the probes are making good contact with the terminals and that the power supply is actually turned on. It might sound obvious, but you’d be surprised how often this is the culprit. If the connections are good and the power supply is on, the next step is to check the fuse or circuit breaker. A blown fuse or tripped breaker can cut off the power supply to the circuit.
If the voltage is low but not zero, there could be a few different causes. A loose connection is a common culprit. Check all the connections in the circuit, from the power supply to the load, and make sure they’re tight and secure. Another possibility is that the power supply is overloaded. If the load is drawing more current than the power supply can provide, the voltage will drop. Try disconnecting some of the load to see if the voltage returns to normal. If the voltage remains low even with the load disconnected, the power supply itself may be faulty.
If the voltage is high, the power supply is likely malfunctioning. Overvoltage can damage sensitive electronic components, so it’s important to address this issue immediately. Disconnect the power supply from the circuit and have it repaired or replaced by a qualified technician. In all of these cases, safety should be your top priority. If you’re uncomfortable working with electricity, it’s always best to consult with a qualified electrician. They have the expertise and equipment to diagnose and repair electrical problems safely and effectively.